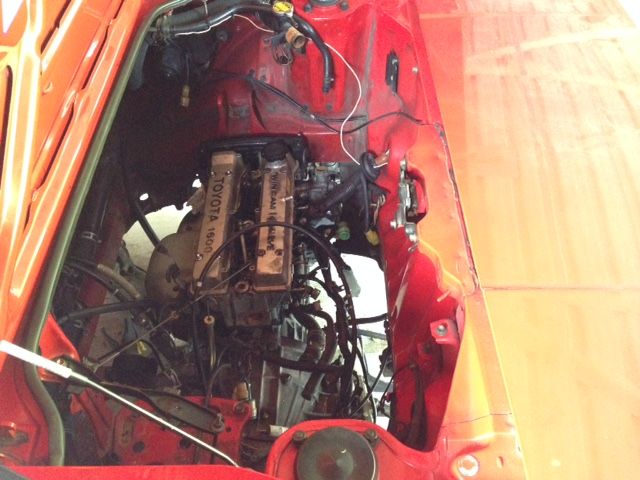
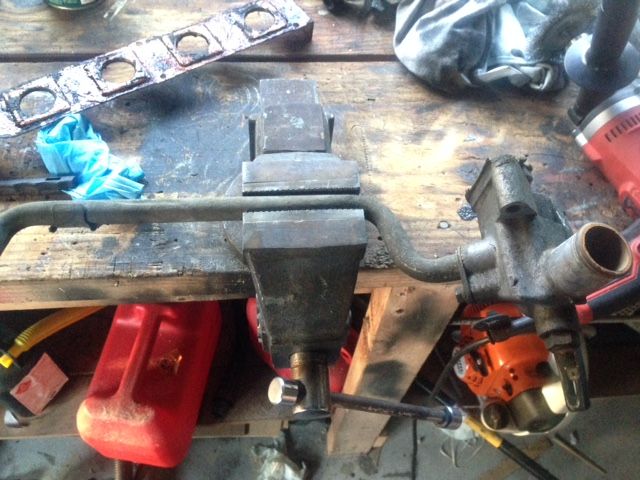
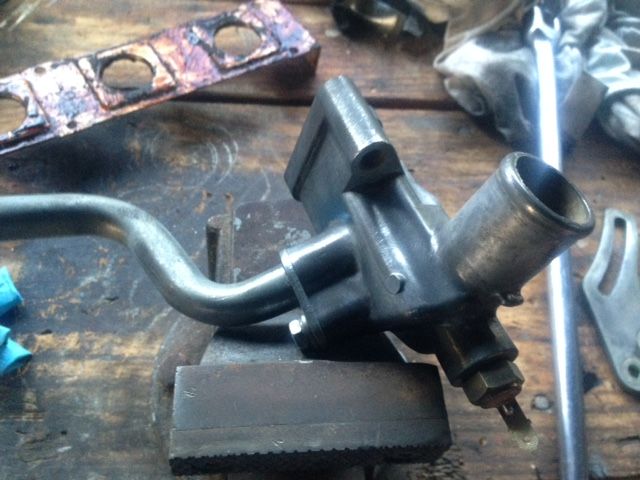
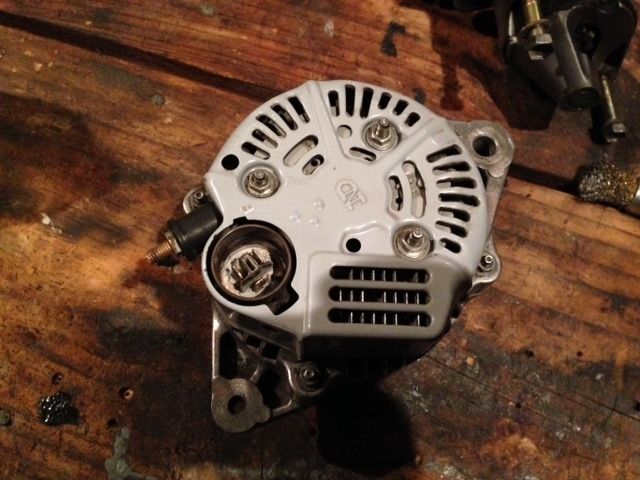
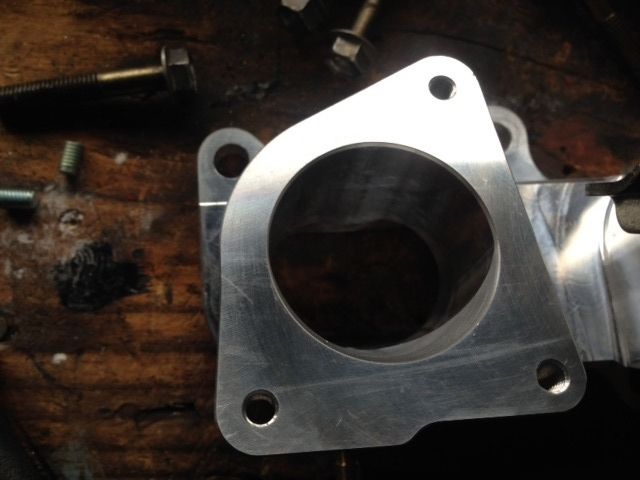
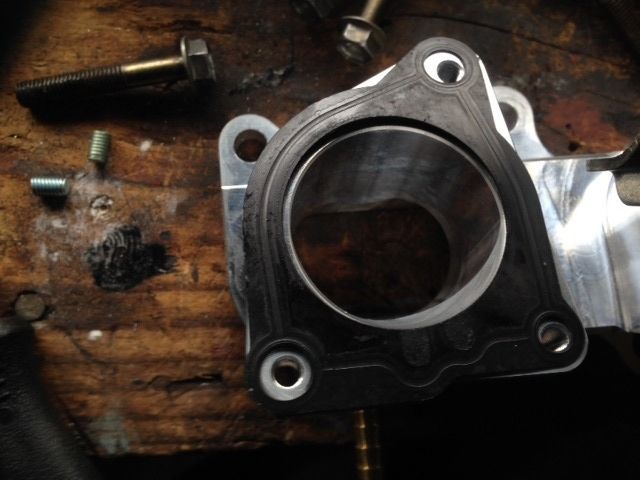
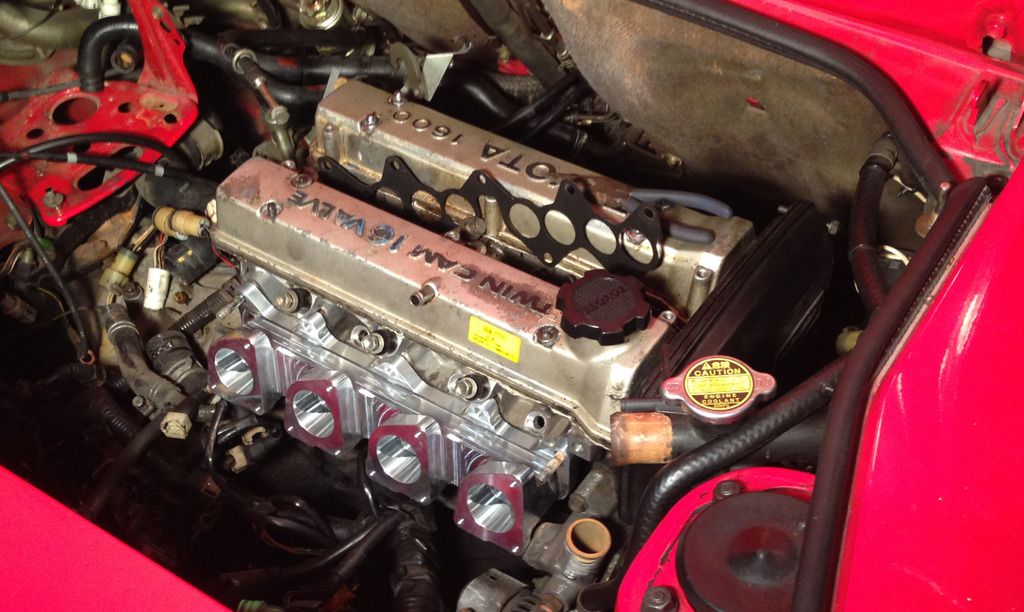
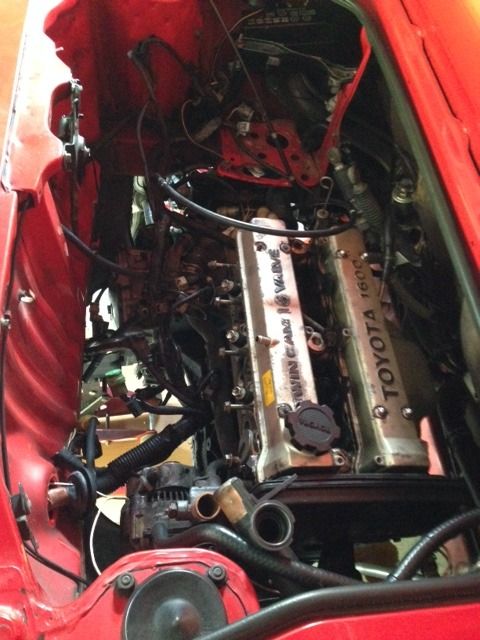
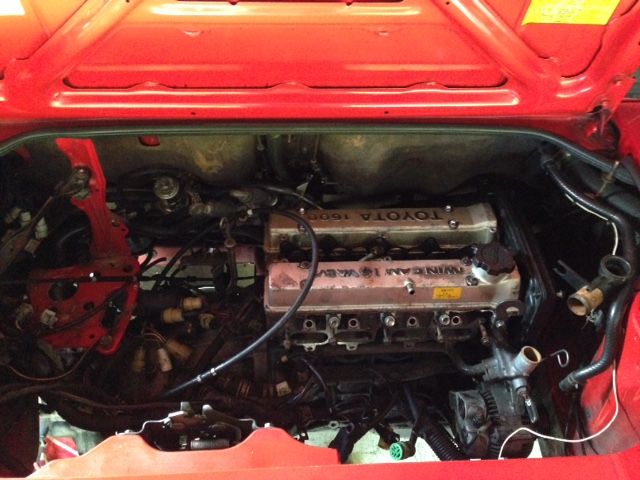
I thought I better check the ITB adapter to make sure it actually fit. It seemed to not fit initially but then I realized it was just the vacuum barb touching the coolant pipe, this can simply be solved by removing the barb, fitting the adapter and then re-fitting the barb through the gap between the coolant pipe and engine block.
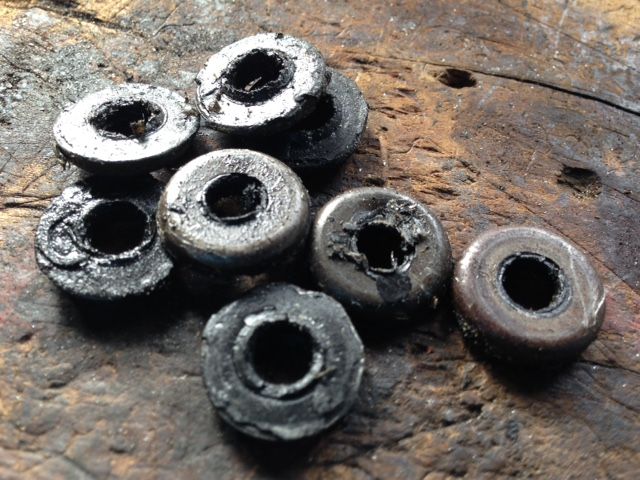
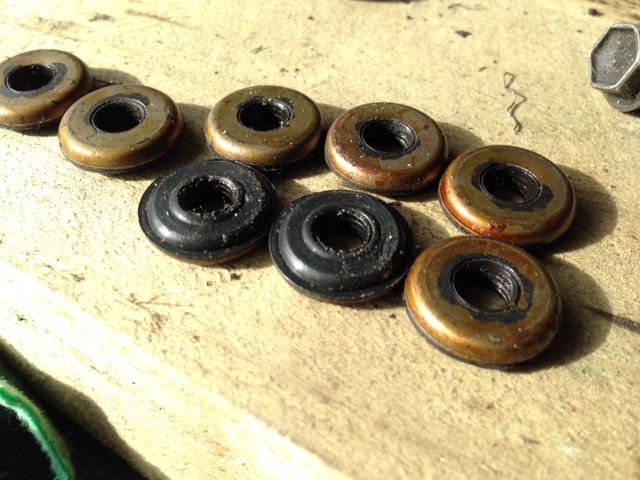
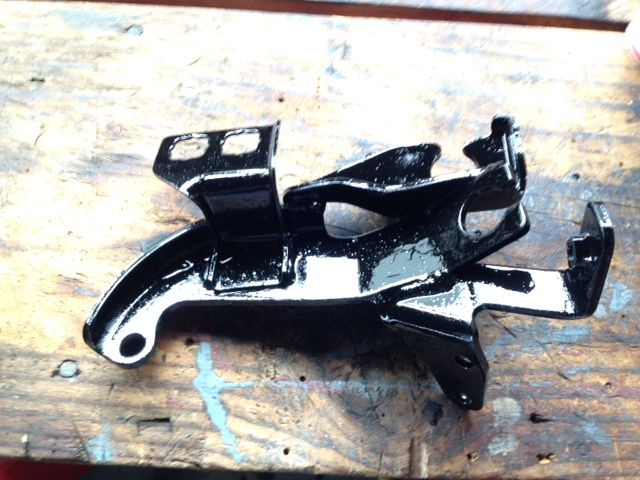
Anyway back to work, this time I did the clutch salve cylinder bracket. No pictures of the entire disassembly or cleaning etc, getting a little bored of this painting business:
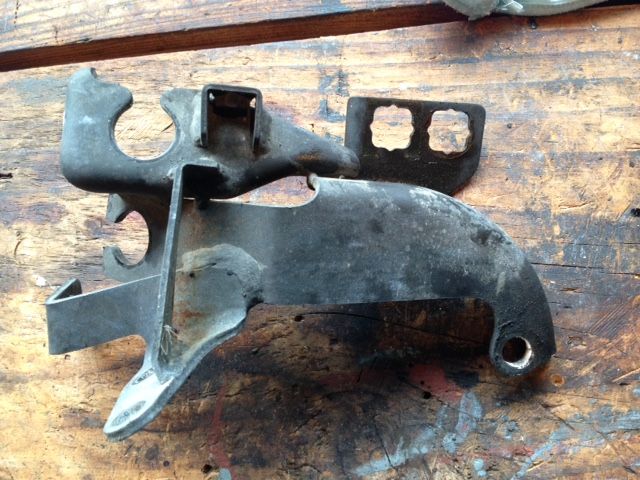
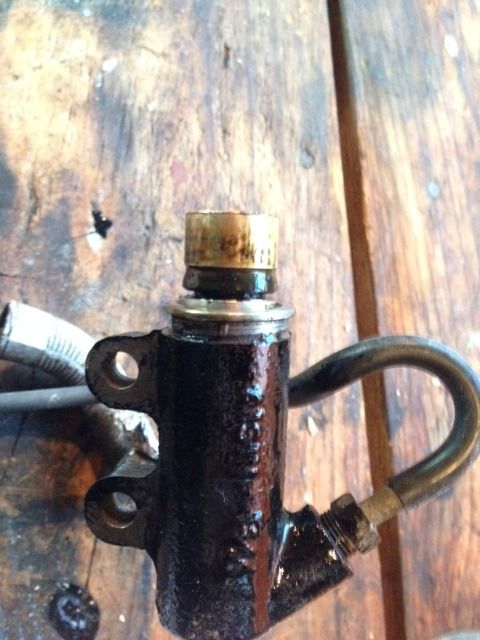
The slave cylinder is located in a kind of unpleasant area, so I decided to rebuild it in hopes of not having to do it later on when access is restricted:

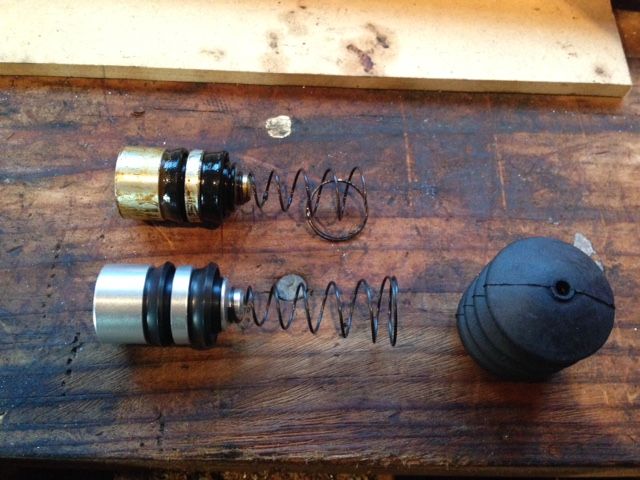
A little compressed air easily pushes the piston out:
Used Vs. new... glad I decided to do this:
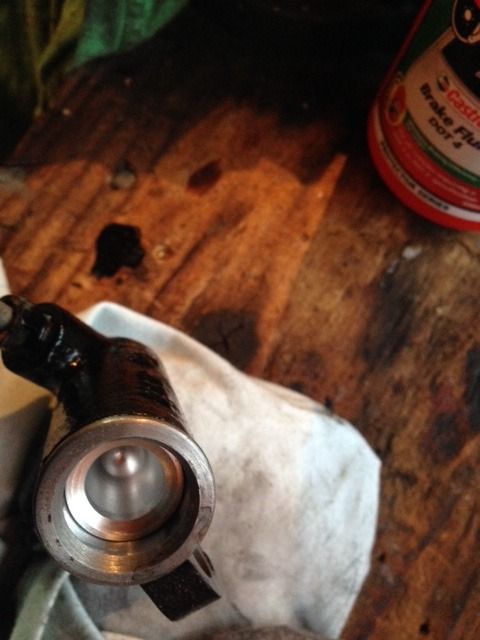
New piston in:
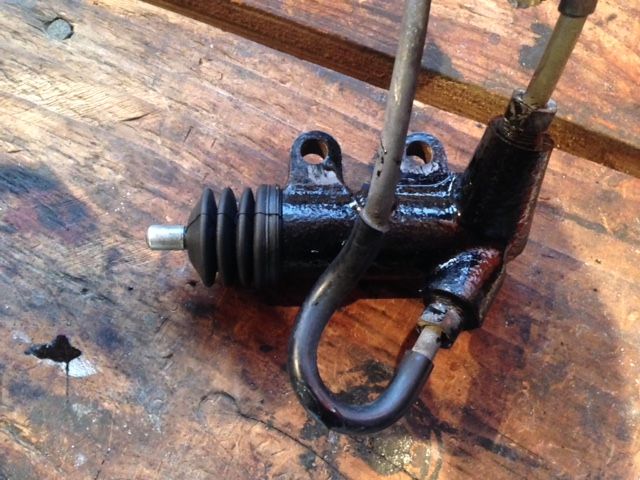
Finished cylinder:
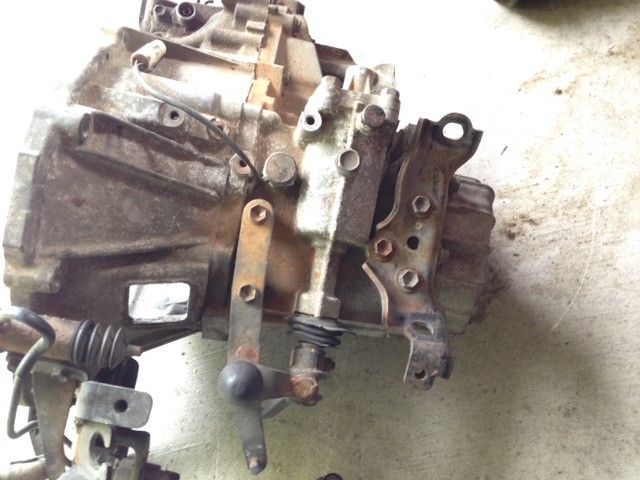
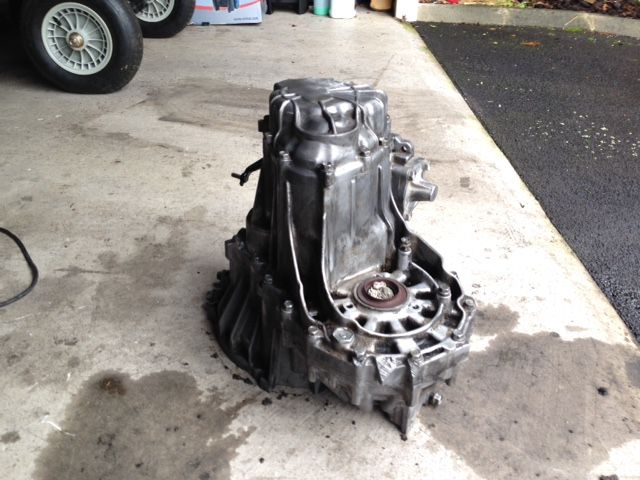
Alright so at this point I was tired of seeing the transmission looking so dirty so thought I would deal with it next. This is how it looked when I got it:
In the progress of being cleaned up:
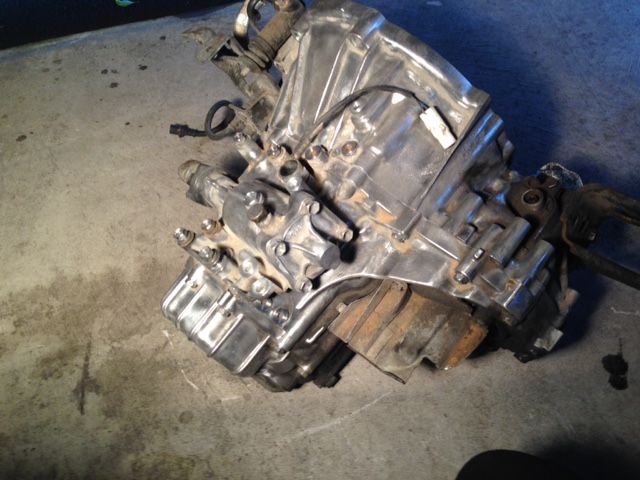
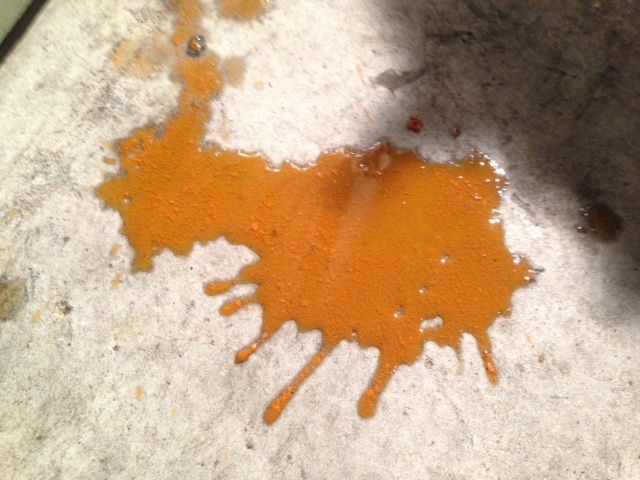
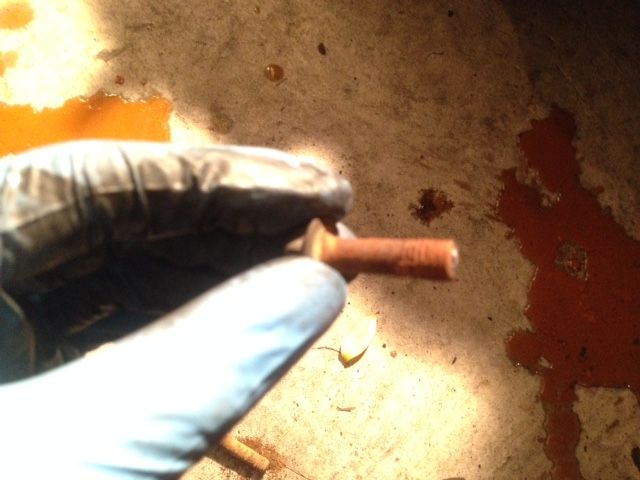
That's not water by the way, its a bit of trans fluid which came out while tilting the box.
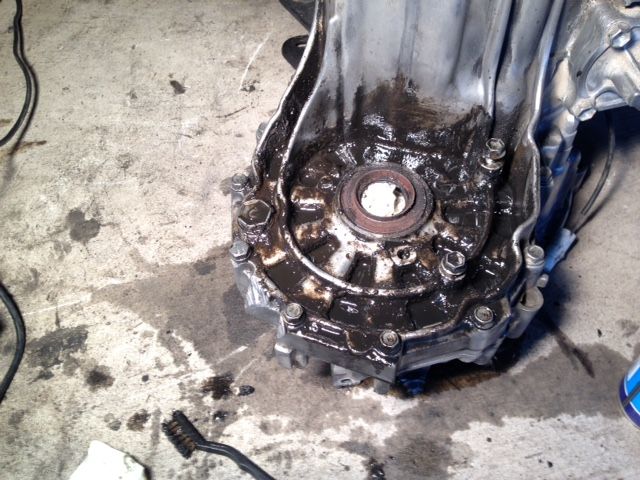
This part really was no fun:
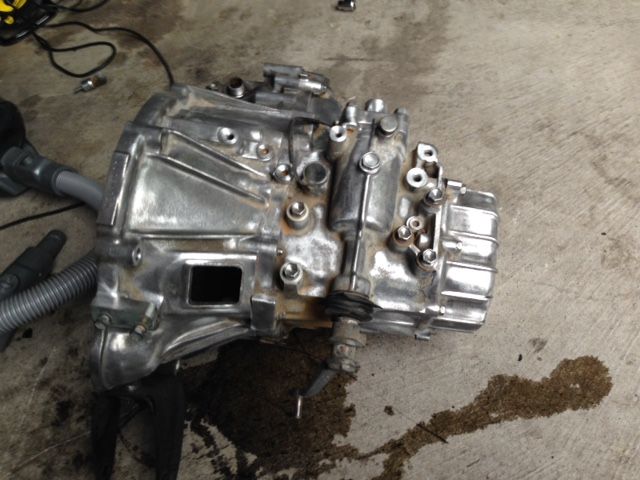
Looking a little cleaner:
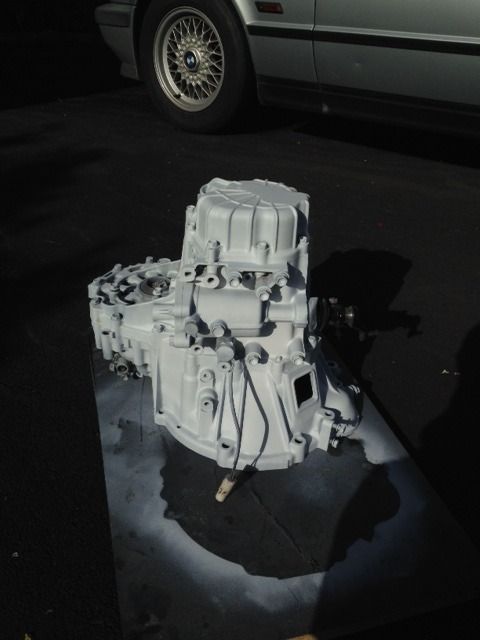
Again I kind of forgot to take pictures after getting busy with this, however, once it was all clean I used some etch primer on it:
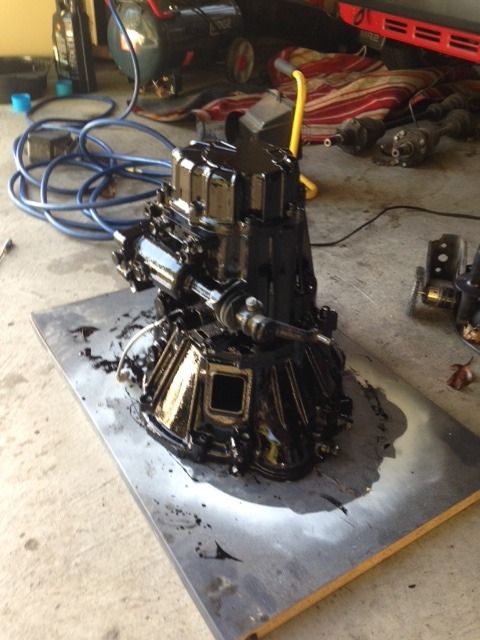
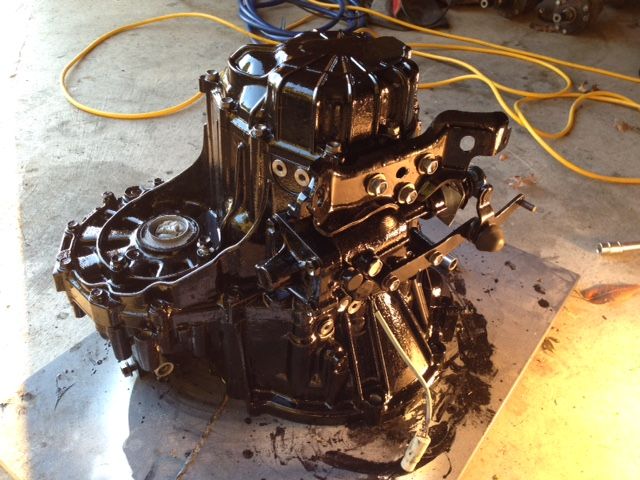
Painted black:
Ok next it was time to remove the axles which I had been putting off for a long time. I had never removed axles before and thought they would be a nightmare for some reason, they were actually pretty easy.

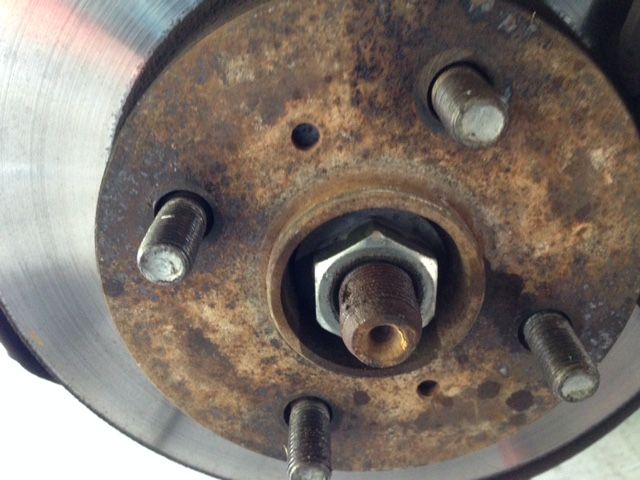
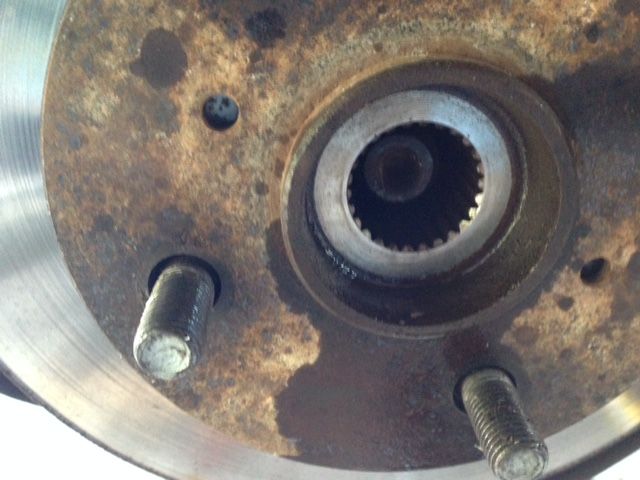
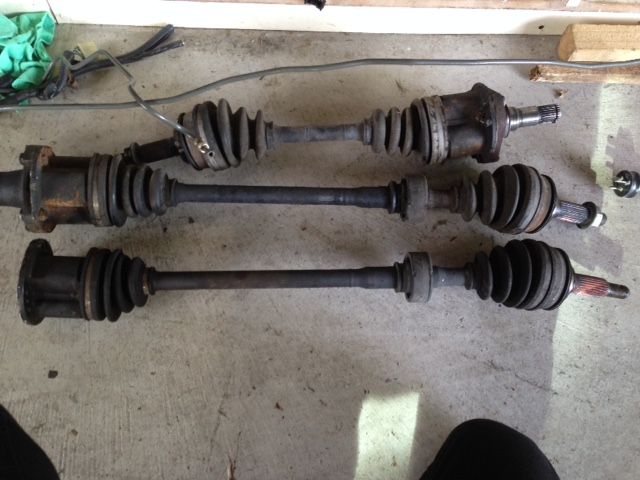
As suspected the auto and manual axles seem to be identical (bottom one is my original one, middle one is the one I got with manual swap):
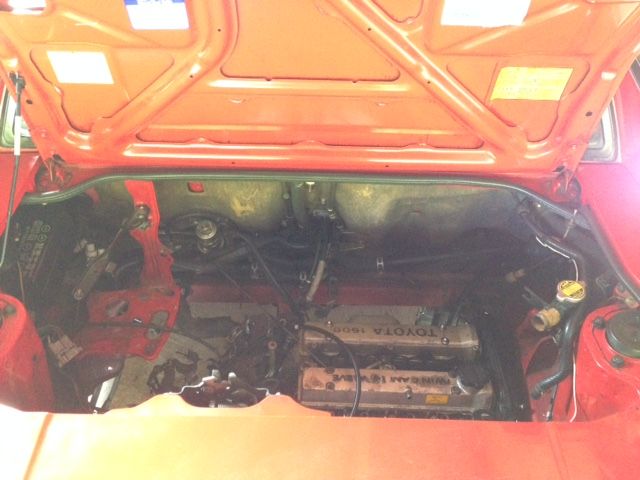
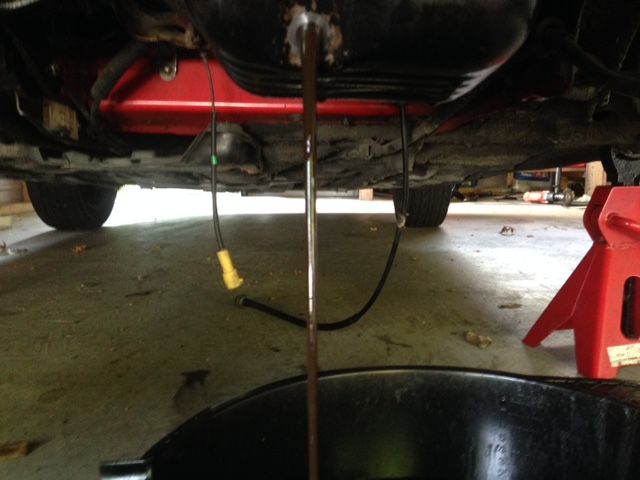
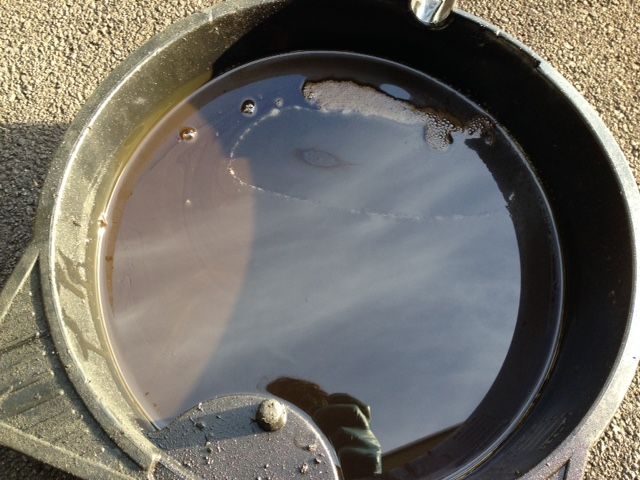
Also time to drain the oil and disconnect all the engine and trans oil coolers:
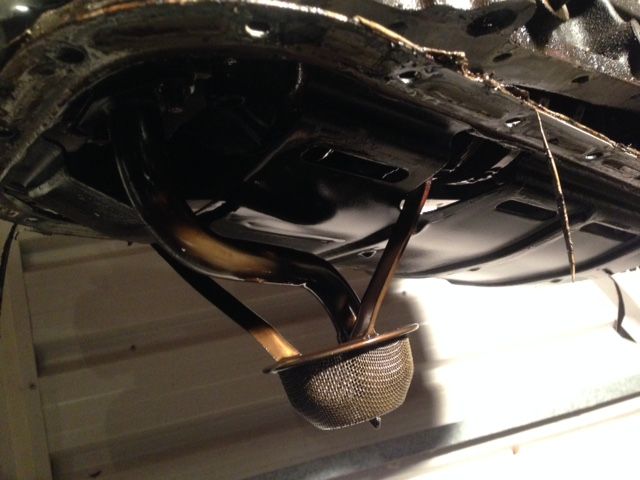
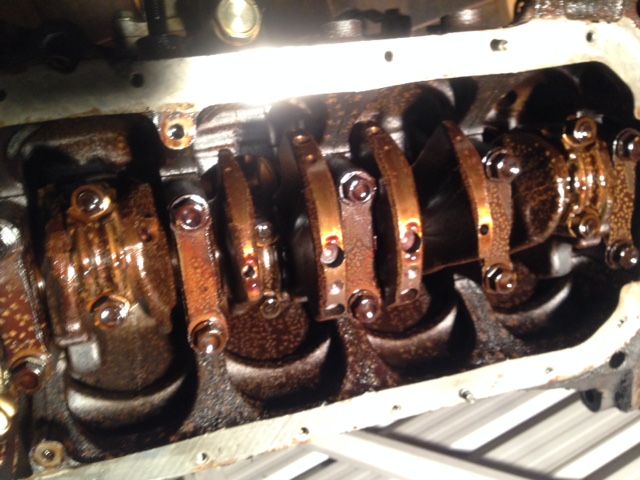
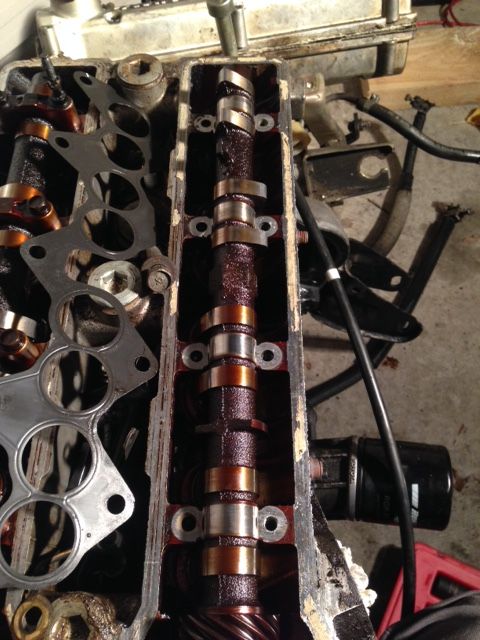
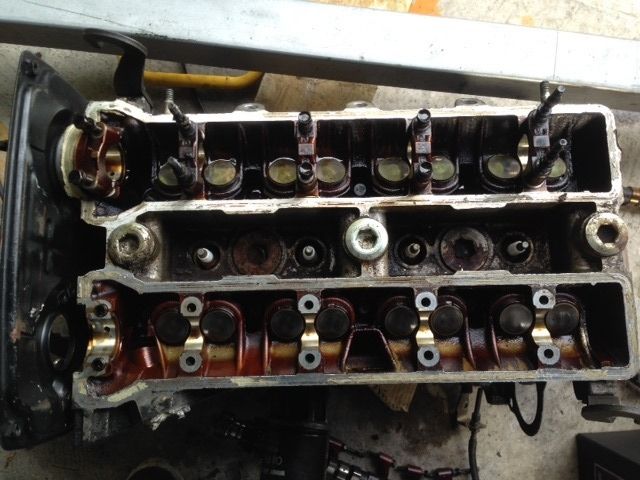
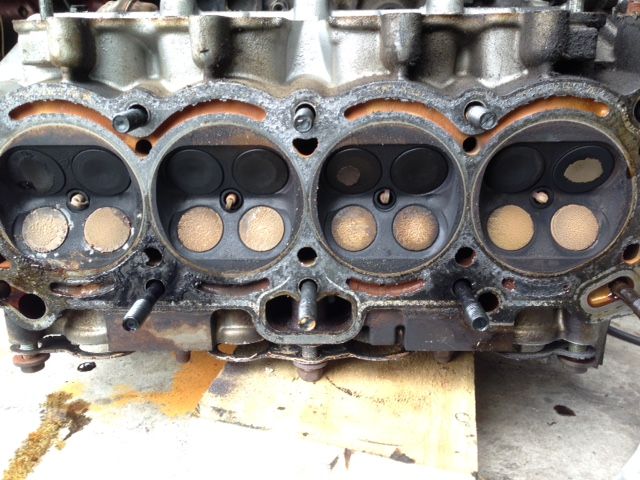
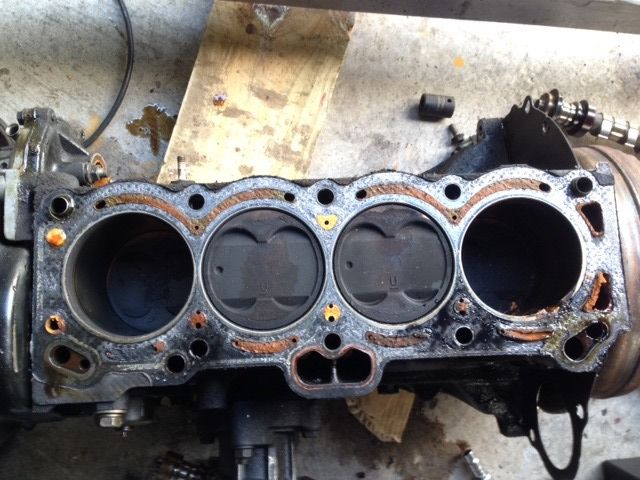
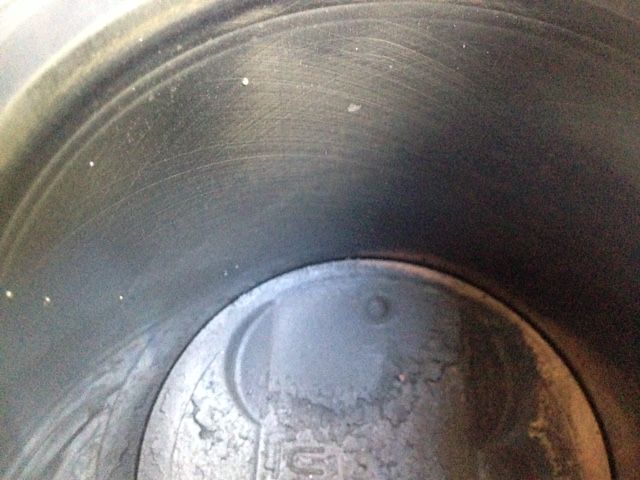
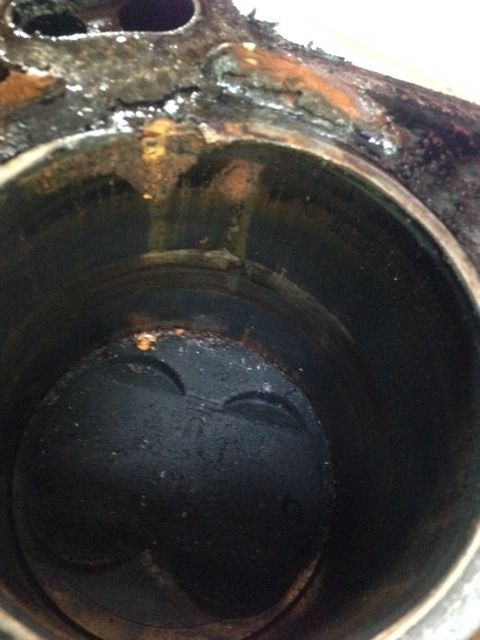
Head gasket for sure:
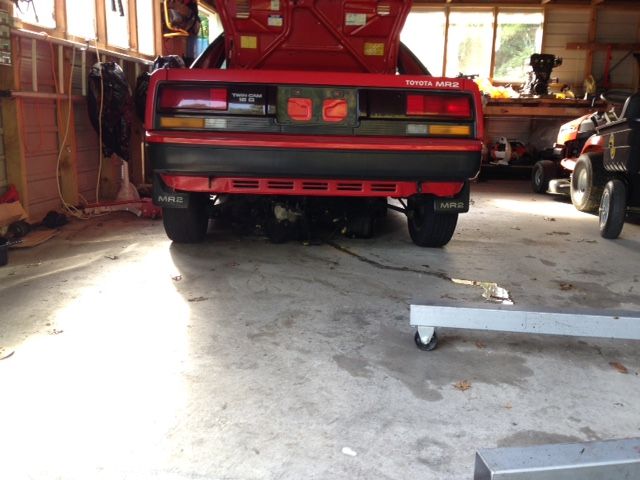
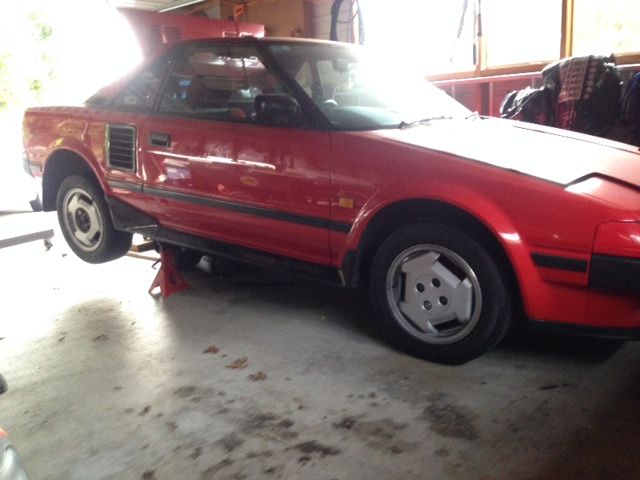
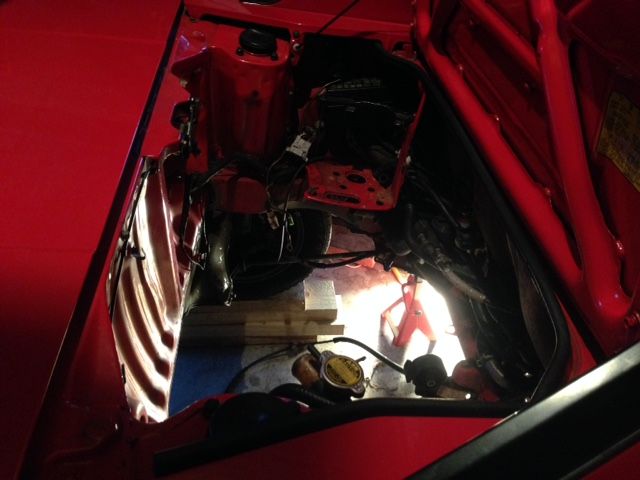
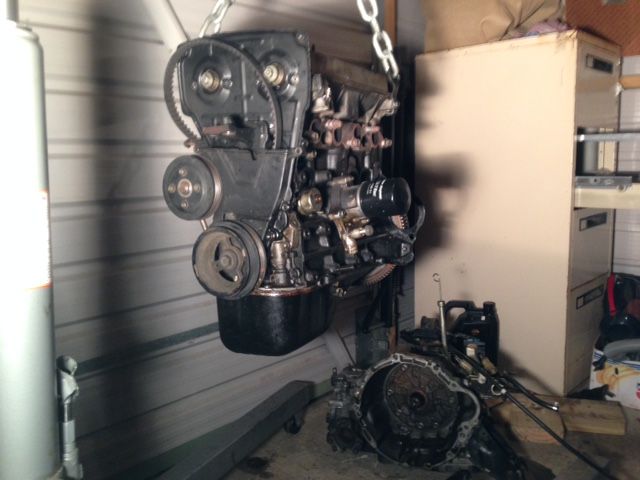
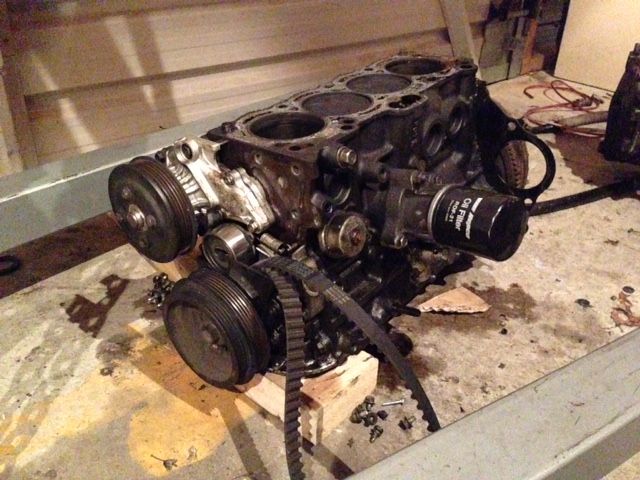
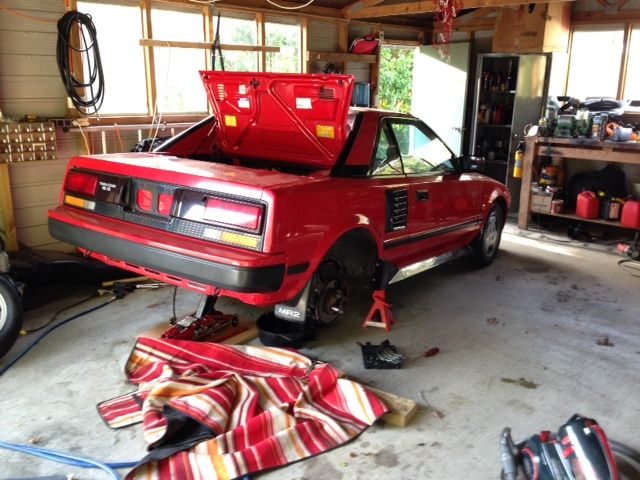
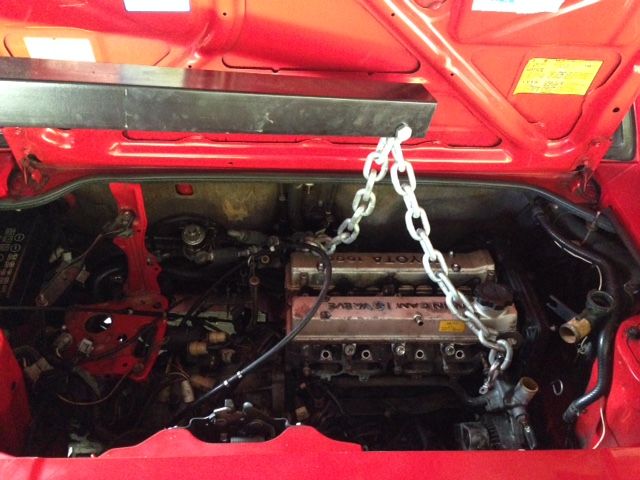
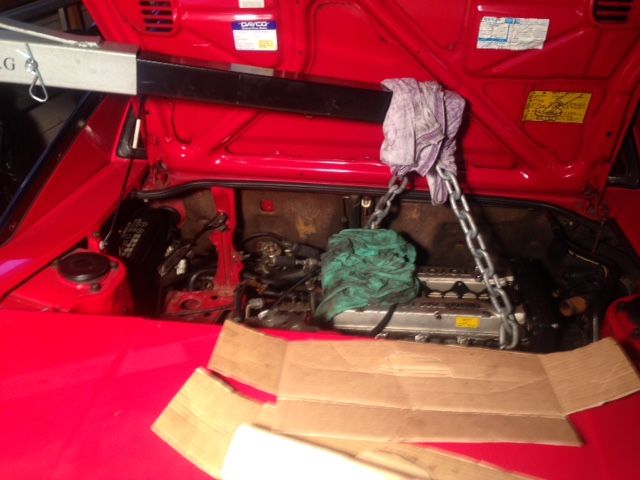
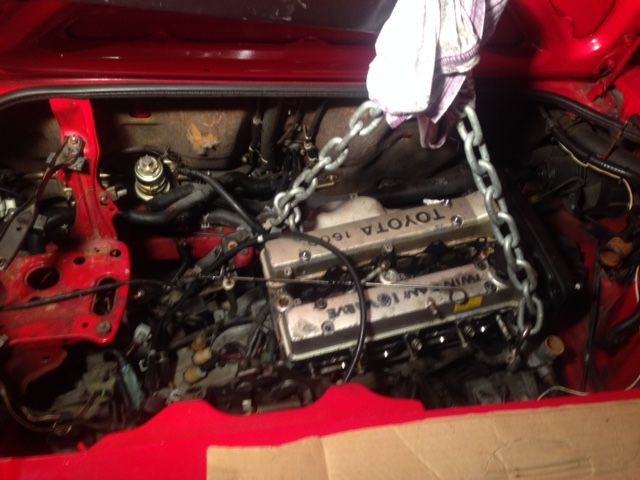
So as you can probably guess this is all leading towards removing the engine. I went down to the garage today expecting to do one or two small jobs.. ended up dropping the engine, I suppose it was going to happen one day soon. I had gradually been removing all the accessories/wiring etc. so there wasn't one single big load of work.
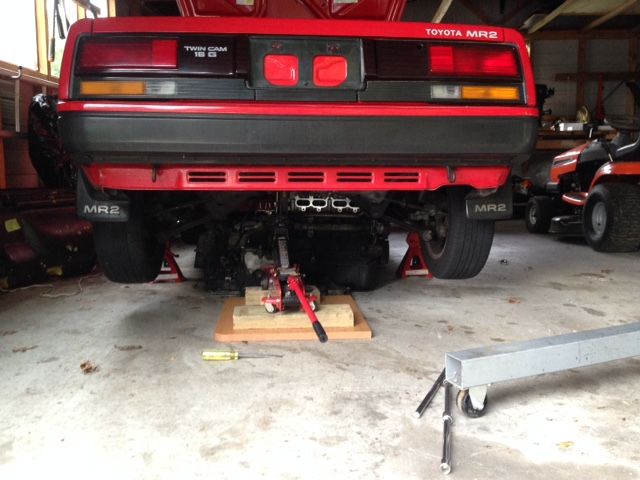
Soon to be out:
I know its a shitty situation having the crane up near a wall like this, had I known it could only work in this position I would have tried to move the car earlier. The reason it doesnt work from behind is because the transmission touches the cranes leg.
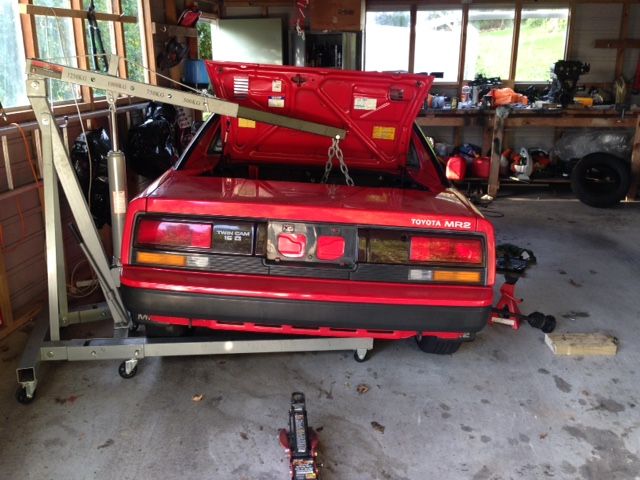
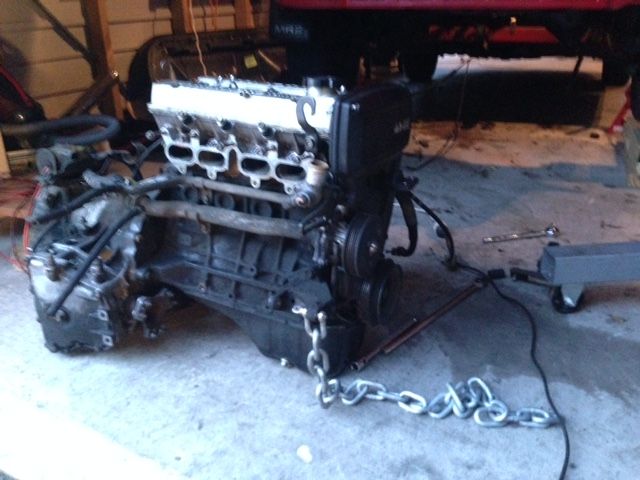
Because of the location of the diff and the engine lift points it kind of went down a bit crooked:
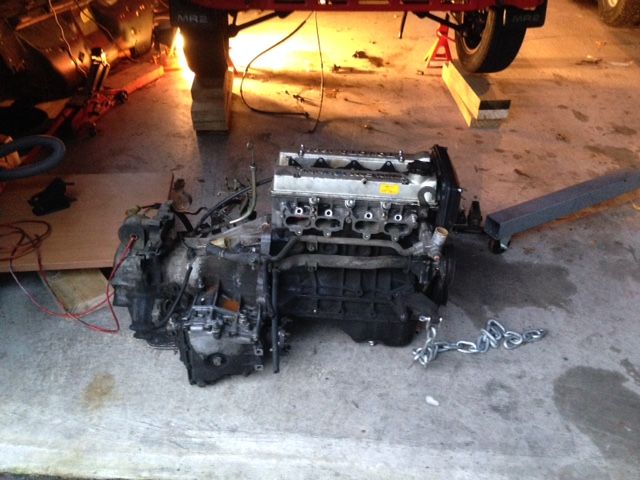
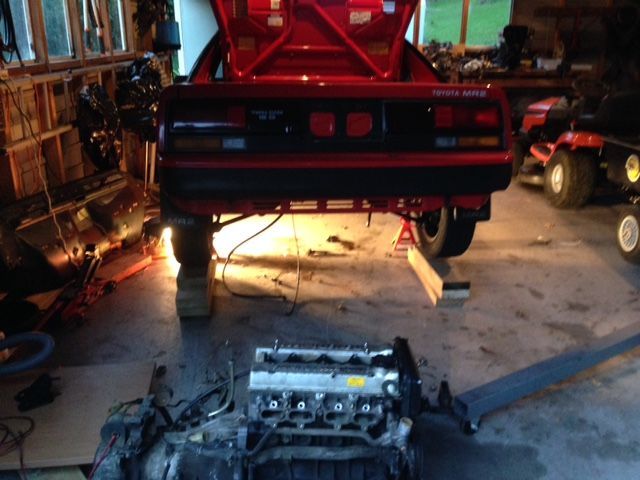
And well that is all I have. At the moment the engine is resting on the ground still partially in the engine bay, I'll get better pics tomorrow but chances are I won't be able to actually get the engine out from under the car until sometime later.
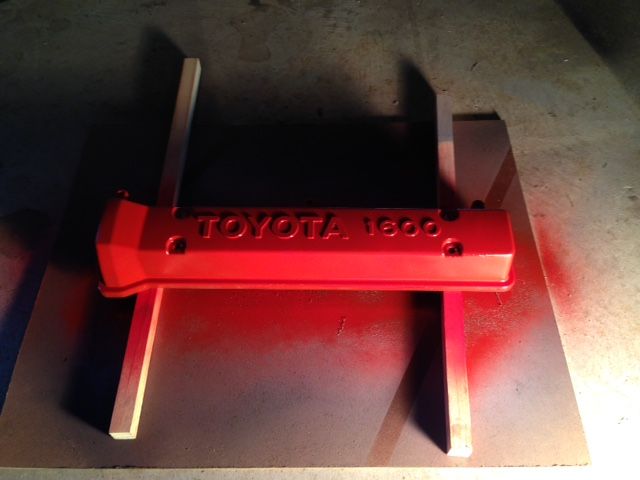
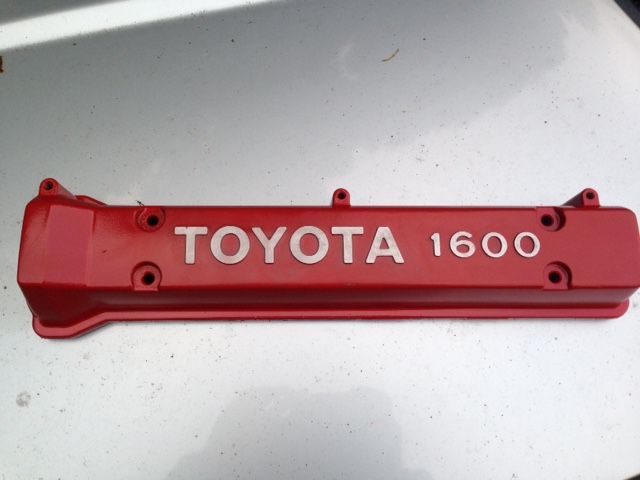
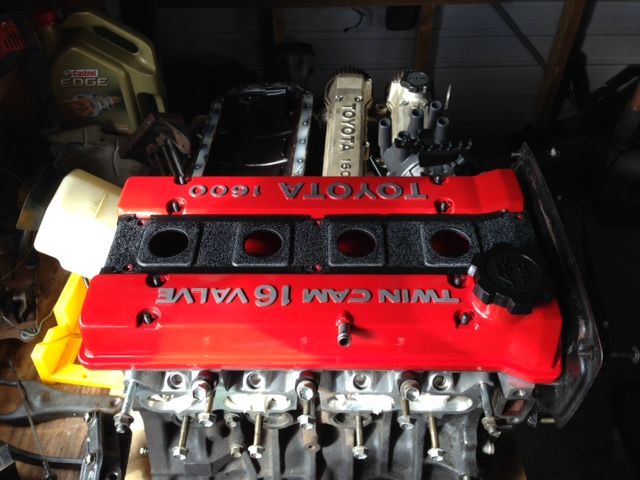
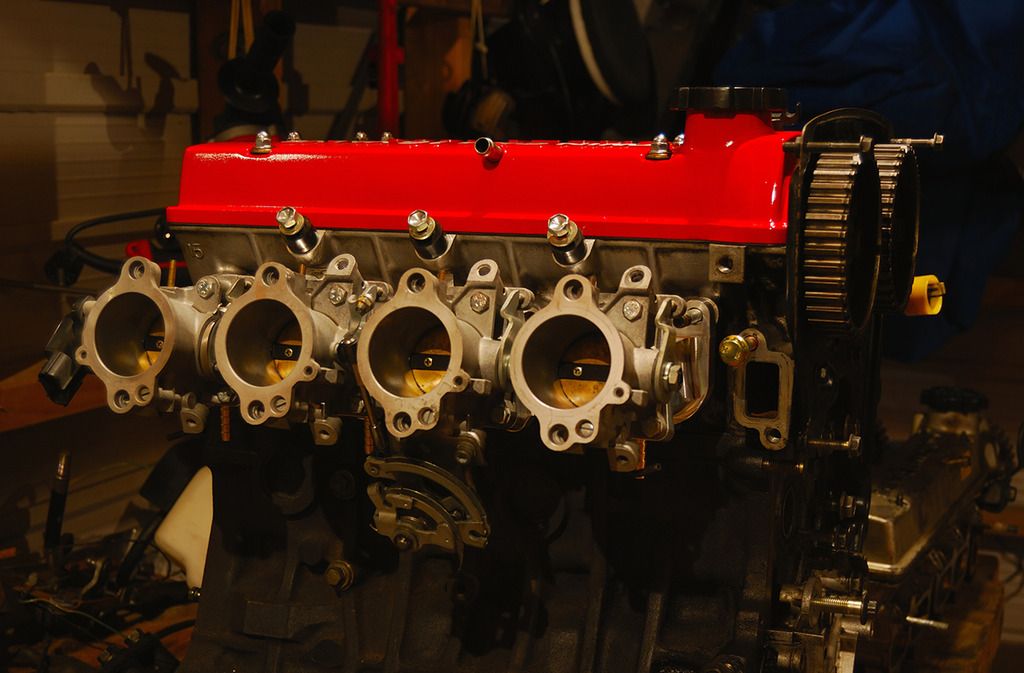
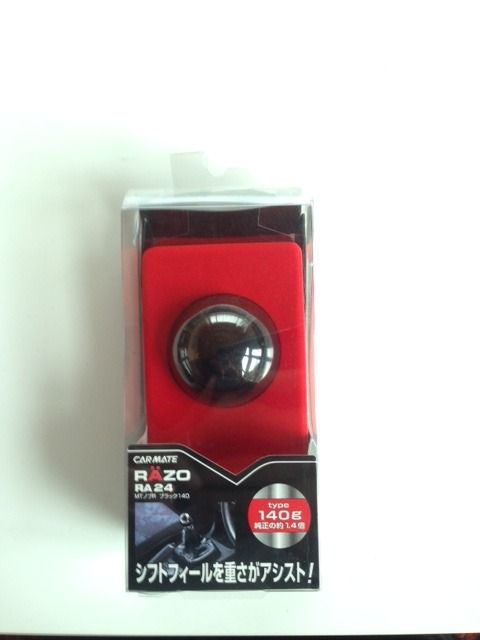
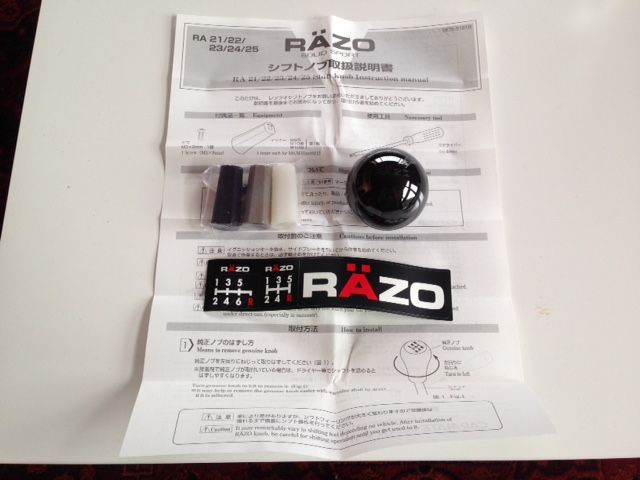
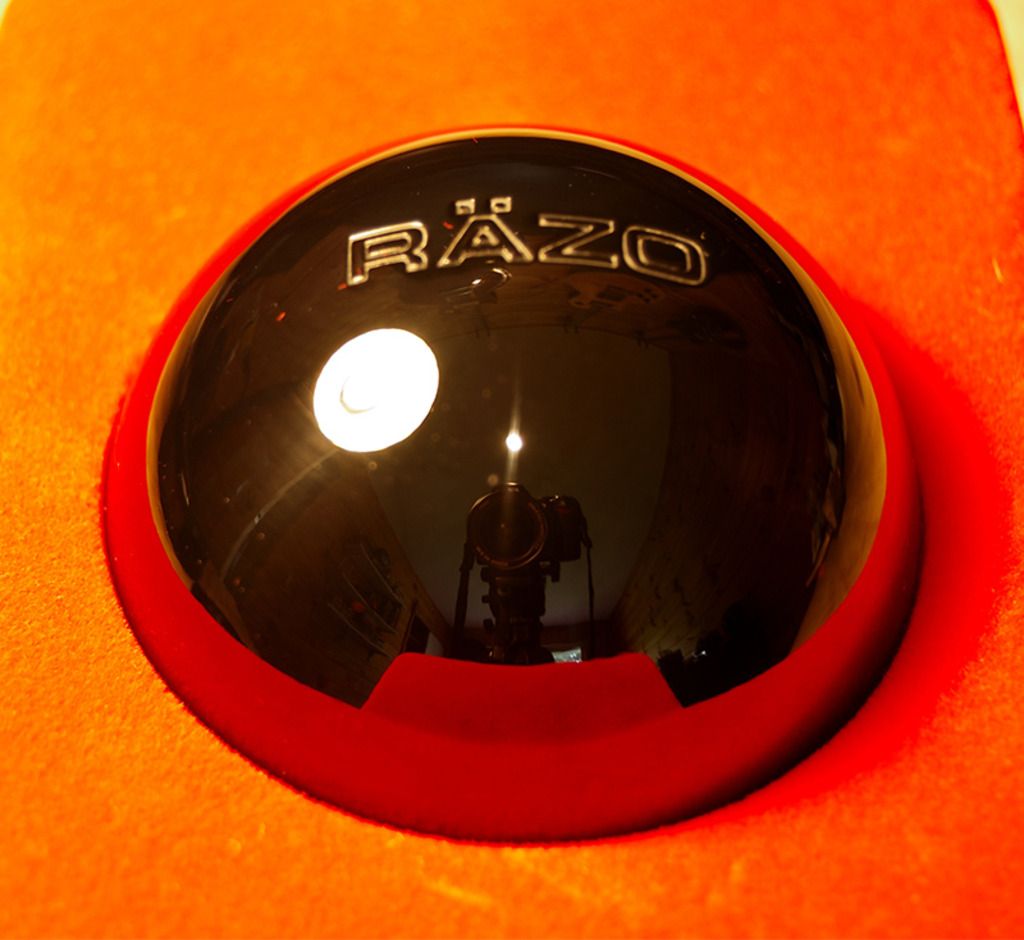
Oh, I got something nice in the mail:
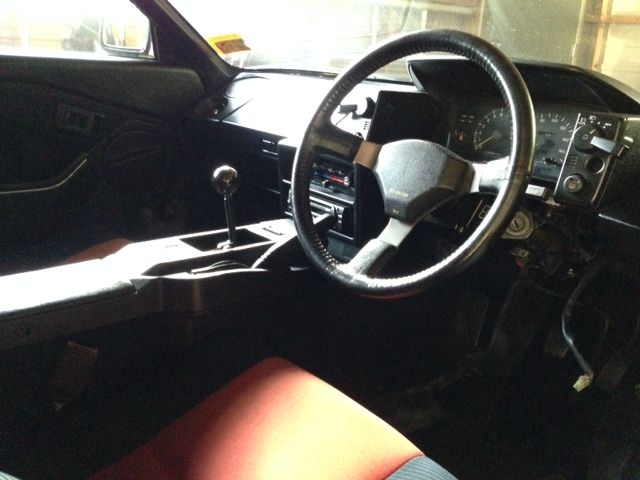
Again it was too hard to wait so I installed the shift cables even though it would have been 10x easier with the engine out of the way:
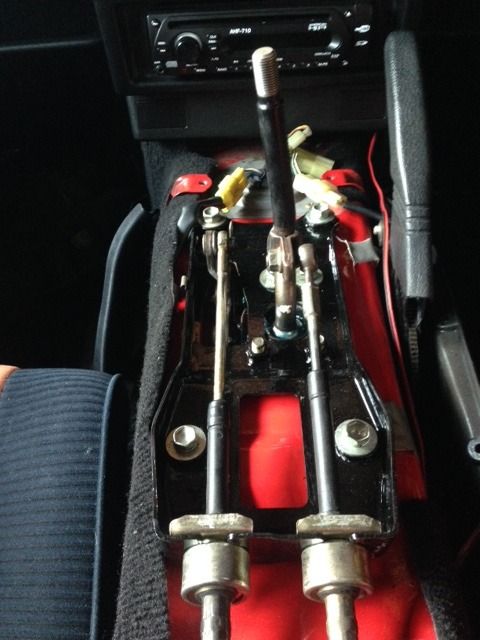
It feels so right having a manual shifter in there rather then the auto: