TNR's AW11 (Finally!)

Want a thread dedicated to your car?
Got a seriously pimped-out ride? Building an extreme performance MR2? Post here!

Moderator: Moderators

Forum rules
This section of the forum is a great resource if you're looking for ideas, and it's a cool way of obtaining technical information that may otherwise not have been posted. (Members can use the Search functionality at top right of the forum to speed up finding things) Please respect others' contributions and don't diss anyone - keep comments helpful, factual, positive and polite. One thread per vehicle or owner please - don't start lots of threads about just one car. And if you need assistance with your car and want to host a spanner day, please use the appropriate section of the forum: http://mr2.org.nz/phpbb3/viewforum.php?f=35 Thank you.
TNR
Club Member - MR2OCNZ
Posts: 161
Joined: Sun Sep 13, 2015 6:03 pm
Stomping Ground: Auckland
Prime Mover: AW11
First name: TNR

Re: TNR's AW11 (Finally!)

Post by TNR »

installing the timing belt:

I know the timing marks seem off in this picture, but I checked and its just parallax error (can't get camera to see both cam sprockets dead straight).
Image

Image

Covers fitted:
Image

Little bit of copper anti seize on the crank pulley:
Image

Image


One thing that annoyed me every time I looked at the interior was the shift boot I bought. It didn't have any retainer on the top and looked really unfinished.
Image

So I noticed that a lot of old Honda's have a nice retainer and picked one up from the junk yard:
Image

Zip tied onto boot:
Image

Better:
Image

TNR
Club Member - MR2OCNZ
Posts: 161
Joined: Sun Sep 13, 2015 6:03 pm
Stomping Ground: Auckland
Prime Mover: AW11
First name: TNR

Re: TNR's AW11 (Finally!)

Post by TNR »

Alright, I'm back. I haven't worked on the car for a few months since uni got crazy busy (was my final year).

Anyway here's some recent progress. Note: I got out of the habit of taking a lot of pics etc. so if you feel like some are missing or things aren't shown clearly, that's why.

So, I the first thing I did was install the oil sump. This involved installing the windage tray, oil pickup and sump.

Engine up in the air:
Image

Image

Cleaning up all the old sealant:
Image

Making the oil pickup gasket:
Image

RTV applied to windage tray
Image

At this point I installed the windage tray and bolted it into place using the oil sump bolts. I let it sit for about 10 minutes so that it would get tacky and hold onto the windage tray while I installed the oil sump. The bolts for the oil sump and windage tray are the same.

I also installed the oil pickup tube at this time and torqued it to spec.
Image

Oil pan being torqued:
Image

Done:
Image

I also remembered that I had not clocked the distributor and installed it properly. So that was the next task. Engine was turned to TDC position. The distributor shaft was clocked as shown in the pic below: (Note the two dimples highlighted by the red dots).
Image

The distributor was then installed, it went in without trouble. Once the engine is in and running (I really hope it runs), then I'll time it using a strobe light timer.


Once this was done I was just having a look at the engine bay for no real reason. I noticed that the engine bay air fan was pretty dirty, as well as the coolant hoses/oil cooler. No better time to clean it than now.

This is the engine bay air fan. It automatically switches on only when the air temperature in the bay gets above a certain level:
Image

Disassembly:
Image

Notice the dust or whatever, inside the stator (Yes the fan was working):
Image

Rotor also dirty:
Image

Cleaned up rotor:
Image

Stator cleaned up:
Image

Cleaned up housing:
Image

Put back together:
Image

Re-installed:
Image


This project has started to really take much longer than anticipated, mostly due to uni being so busy this year. Anyway I need to get the car back together so that I can enjoy it during summer. If I get it back together and it doesn't run...

So I decided it was time to get the transmission and engine mounted. Before I could do this the clutch had to be installed. You might remember seeing my brand new Exedy clutch kit in one of the above posts. It had been sitting in my room for the last few months. When I went to installed it the clutch alignment tool wouldn't fit into the clutch disc it was way too large. Kind of annoying since I had to wait another day for the shop to re-order the correct tool. But I don't think it was their fault (supplier sent wrong one most likely). Either way I'm glad they sorted it out so quickly and easily.

Once the new tool arrived I got to work.

Here is the flywheel after grinding (As you can see its from a blacktop 4AGE so its lighter than the original but still factory like usability):
Image

Bolting it to engine and torquing (Note: All new flywheel bolts from Toyota, were pretty expensive but its highly recommended to use new bolts for this):
Image

At this point I thoroughly cleaned the flywheel and pressure plate mating surfaces with wax and grease remover. I did this until no residue appeared on the cloth.
I then fit the pressure plate over the clutch and used the new pressure plate bolts to lightly hold everything in position. This allowed me to make sure the clutch was centered:
Image

After confirming the clutch was centered I started to tighten each of the six pressure plate bolts as evenly as possible to avoid warping of the pressure plate. After this the bolts were torqued to spec:
Image

Image

Cleaning up the transmission input shaft and clutch fork pivot ball:
Image

I then lightly greased the input shaft splines and the pivot ball. Its important to only lightly grease these; excess grease can fling off onto the clutch disc and cause slipping (or so I'm told).

Clutch fork and release bearing installed:
Image

Finally mounting the transmission. I know it looks like its hanging from the input shaft but don't worry I wouldn't do that. It's resting on the diff part of the transmission which is hard to see from the pic:
Image

Done:
Image

I also cleaned up the engine bay a bit more:
Image

Image


That's it for now, it feels nice to be working on the car again. Sorry for the shitty pics though, lol.

TNR
Club Member - MR2OCNZ
Posts: 161
Joined: Sun Sep 13, 2015 6:03 pm
Stomping Ground: Auckland
Prime Mover: AW11
First name: TNR

Re: TNR's AW11 (Finally!)

Post by TNR »

A little more progress.

I had the motivation to place the engine inside the engine bay today, so I went ahead and did it.

Jacking the car up. This had to be done in stages because as you can see the rear has to be lifted quite high and I only have basic tools. I had to jack the car up as high as possible, rest it on axle stands, place wood blocks under the jack and repeat.
Image

Another angle:
Image

Final height required to slide engine in:
Image

Engine ready to go in:
Image

Uhh.. yeah this was pretty ghetto, I used an old garden hose as a rope to pull the engine into position haha. I couldn't find any real rope and don't have a sliding trolley.
Image

For anyone trying this method: You must position the engine as far forward as possible (closest to firewall as possible), this is because when you lower the car it slowly rolls forward (opposite to when you were jacking it up). If you place the engine in the middle of the engine bay, the car will hit the engine before it is fully lowered. I learnt this when I was removing the engine. No issues this time around:
Image

Time to lower:
Image

Safely back on the ground:
Image

Image


Unfortunately I now have to wait till I can find a rear transmission mount. I didn't realize the auto one was different to the manual : / Its pretty annoying since I wanted to get stuff mounted.

Anyway that's it for now.

User avatar
*84vvt
Life Member - MR2OCNZ
Posts: 2557
Joined: Sun Jun 06, 2004 11:44 am
Stomping Ground: Wellington
Prime Mover: AW11
First name: Colin

Re: TNR's AW11 (Finally!)

Post by *84vvt »

I had a look at my parts car I have the gear box mount your after Yours for postage as it a wee bit rusty
PM me your address and we can go from there . :-)
Boosted cars are like hot women.
A little edgy, every guy wants one,
some guys can't handle them,
and if you throw a little alcohol in them they'll rock your world.

Image

TNR
Club Member - MR2OCNZ
Posts: 161
Joined: Sun Sep 13, 2015 6:03 pm
Stomping Ground: Auckland
Prime Mover: AW11
First name: TNR

Re: TNR's AW11 (Finally!)

Post by TNR »

*84vvt wrote:I had a look at my parts car I have the gear box mount your after Yours for postage as it a wee bit rusty
PM me your address and we can go from there . :-)
Oh thanks so much man! You have no idea how badly I've been wanting to get the engine mounted haha.
I'll PM you now.

User avatar
*84vvt
Life Member - MR2OCNZ
Posts: 2557
Joined: Sun Jun 06, 2004 11:44 am
Stomping Ground: Wellington
Prime Mover: AW11
First name: Colin

Re: TNR's AW11 (Finally!)

Post by *84vvt »

TNR wrote:
*84vvt wrote:I had a look at my parts car I have the gear box mount your after Yours for postage as it a wee bit rusty
PM me your address and we can go from there . :-)
Oh thanks so much man! You have no idea how badly I've been wanting to get the engine mounted haha.
I'll PM you now.
Yer my bad for not looking earlier but I have been over seas this last week ... that didn't help
will sort asap
Boosted cars are like hot women.
A little edgy, every guy wants one,
some guys can't handle them,
and if you throw a little alcohol in them they'll rock your world.

Image

User avatar
85AW20v
Club Member - MR2OCNZ
Posts: 888
Joined: Fri May 21, 2004 10:25 pm
Stomping Ground: Bay Of Plenty
Prime Mover: AW11
First name: Simon

Re: TNR's AW11 (Finally!)

Post by 85AW20v »

You can mount the mtor without the front and back mounts on as most of the weight is on the side mounts. Front and rear just stop it rocking back and forth.
See ya
Simon
AW11 Racecar - 860kg

TNR
Club Member - MR2OCNZ
Posts: 161
Joined: Sun Sep 13, 2015 6:03 pm
Stomping Ground: Auckland
Prime Mover: AW11
First name: TNR

Re: TNR's AW11 (Finally!)

Post by TNR »

85AW20v wrote:You can mount the mtor without the front and back mounts on as most of the weight is on the side mounts. Front and rear just stop it rocking back and forth.
Sorry I accidentally wrote "rear", my mistake. I should have said left transmission mount. However, my wanted ad was written correctly. I mentioned I needed the one on the left of the car under the battery tray.

Anyway I clarified with Colin and he said he will confirm tomorrow if he has the one I'm after. Lets see.

TNR
Club Member - MR2OCNZ
Posts: 161
Joined: Sun Sep 13, 2015 6:03 pm
Stomping Ground: Auckland
Prime Mover: AW11
First name: TNR

Re: TNR's AW11 (Finally!)

Post by TNR »

Unfortunately Colin only had the top part half of the transmission mount (I needed both the transmission and car side of the mount). Appreciate the effort though.

Anyway so I checked most of the wreckers/parts places but no luck. The closest I got was at Toyota car parts (forget the exact name of the place) in Takanini, they had an AW11 but it was an auto =/

I even walked though a mini swamp to get to it:
Image

Rather then waiting around for someone to wreck an AW I decided to just buy one from overseas. Of course shipping would take a while but I had to do something.

Anyway while waiting for it to arrive I got on with other work which could be done without the mount.

Firstly I made a gasket for the intake adapter:
Image

Image

After this I started on the wiring. While I am retaining the original wiring harness, I didn't want it to sit on top of the ITB's. I also had to substitute the 16v TPS plug for a silvertop plug.
Here is the harness after it was removed from the car:
Image

First step was to remove all the old plastic harness protectors and insulation tape:
Image

Image

Once all the wires were exposed I could manipulate the wires to make them fit the new layout better. I test fitted the harness to get an idea of how to route the wires:
Image

Image

Once I had the layout sorted I used electrical tape to create branches in the wiring harness so that it could be organized better. This allowed me to fine tune the routing/see if it would work:
Image

Since I am using the automatic harness I had to modify the reverse light switch wiring. These are the connectors which originally plugged into the autobox:
Image

I used some references/pics I found on the internet to help me modify the wiring.

Some wires also had to be lengthened:
Image

Here's the harness after being completed and re-wrapped and covered with harness protectors:
Image


Next I needed to create a bracket to hold the vacuum manifold. I also wanted to hide this out of sight.
cardboard template is really useful, this is the finished shape:
Image

Transferred to metal and cut out:
Image

Mounting holes drilled and in the vice for bending (I don't have a proper bender):
Image

Image

Image

With the vac manifold attached to it:
Image

Primered and painted:
Image

How it looks fitted to the engine:
Image

Using a similar method I made a bracket to support the wiring harness:
Image

Because the injector wires will be passing very close by the throttle linkages there is a chance the wires could get caught and cause dangerous situations. So I made a piece to prevent this:
Image

The wires will pass though the gap between the metal plate and the intake adapter:
Image


Anyway by the time I finished all this (today) my transmission mount arrived!
Image

I'm sorry to say I didn't really take any pictures mounting the engine or installing the many misc. items (such as water hoses, brackets etc.) I was too busy working and trying to get things done.

But anyway here it is installed:
Image

Image

Still have a whole lot of small jobs to do but I'm really glad its finally in and mounted.

User avatar
Statek
Club Member - MR2OCNZ
Posts: 590
Joined: Sat Oct 20, 2012 12:56 pm
Stomping Ground: Auckland
Prime Mover: Looking for an MR2
First name: Kris

Re: TNR's AW11 (Finally!)

Post by Statek »

Wow! I really envy your perseverance and attention to detail! This car is going to be mint once it's finished 8)
1986 Toyota MR2 AW11 20v ST - SOLD
Image

TNR
Club Member - MR2OCNZ
Posts: 161
Joined: Sun Sep 13, 2015 6:03 pm
Stomping Ground: Auckland
Prime Mover: AW11
First name: TNR

Re: TNR's AW11 (Finally!)

Post by TNR »

Thanks Statek, I hope so. Has been quite a bit of work.


So what's been going on? A lot of trouble shooting.. I'll get to later though.

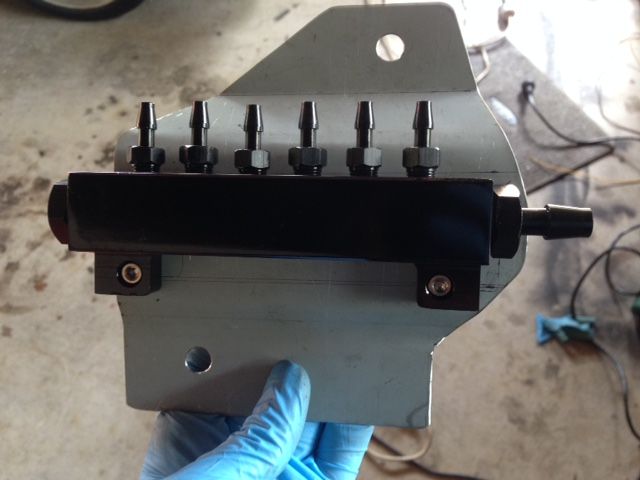
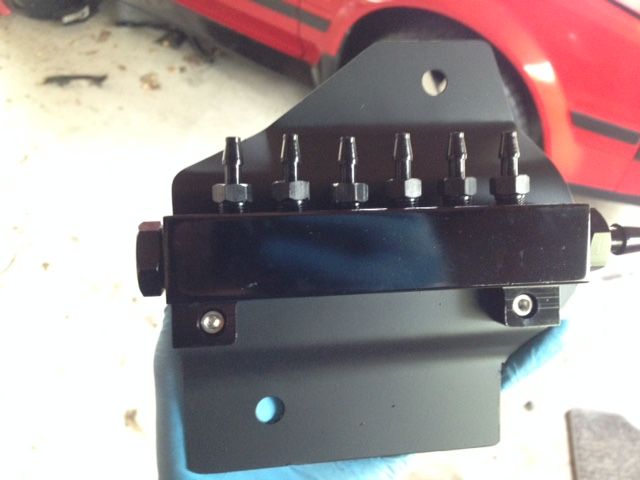
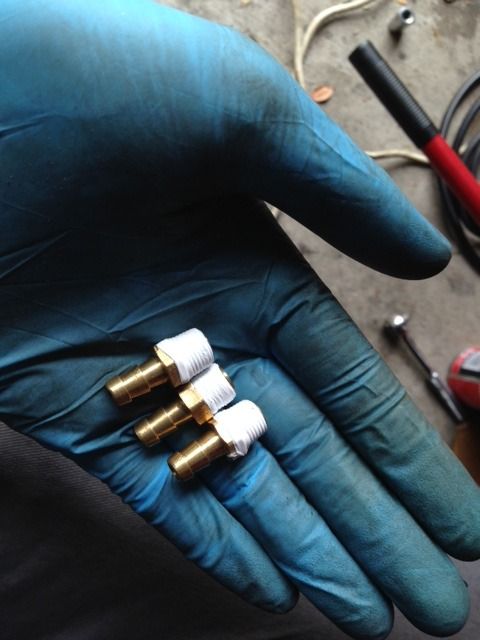
Firstly I installed all the vacuum lines, using thread seal on the barbs to prevent any kind of vacuum leaks:
Image

I don't have pics unfortunately but the four ports on the intake runners go directly to the vacuum manifold (providing the vacuum source).
The remaining two ports on the vacuum manifold get connected to the fuel pressure regulator and to the ECU MAP sensor. Really simple.

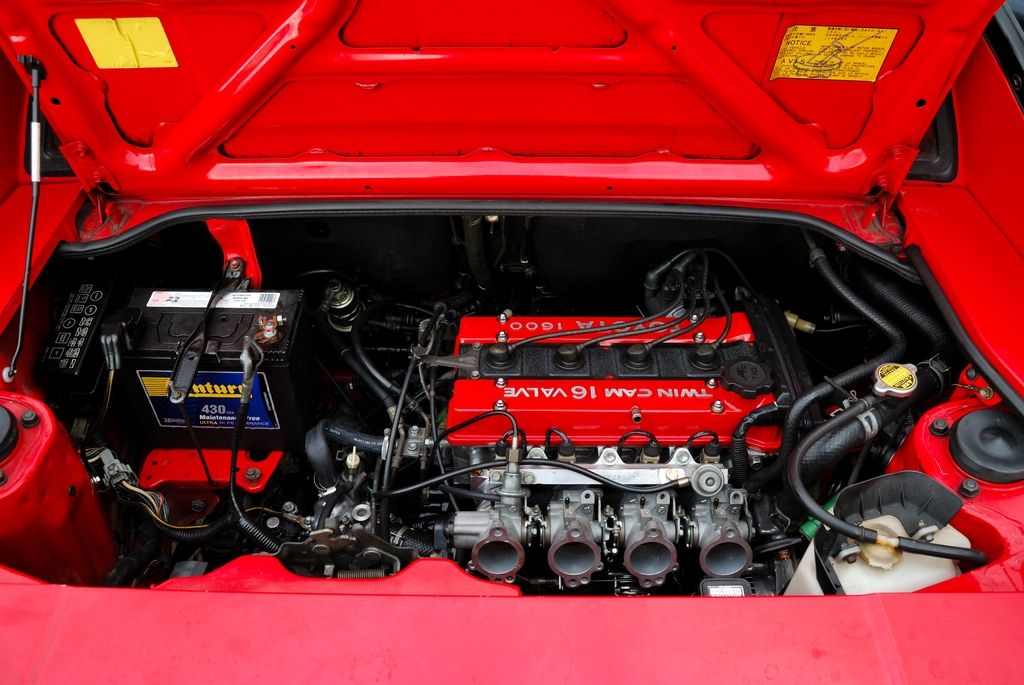
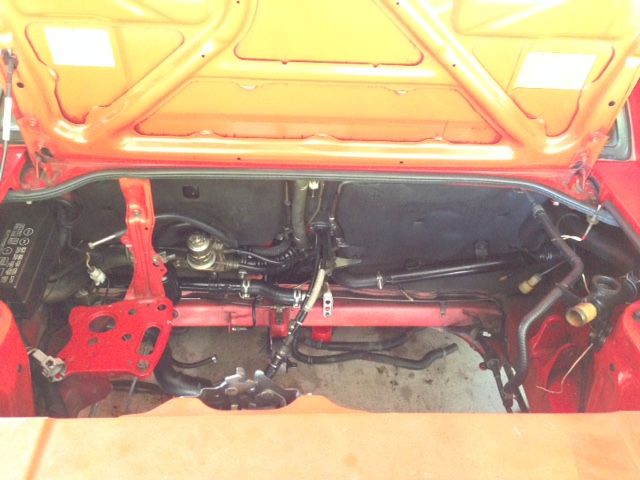
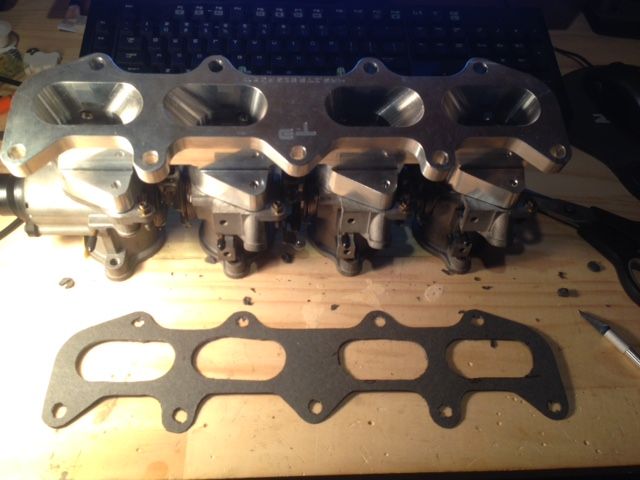
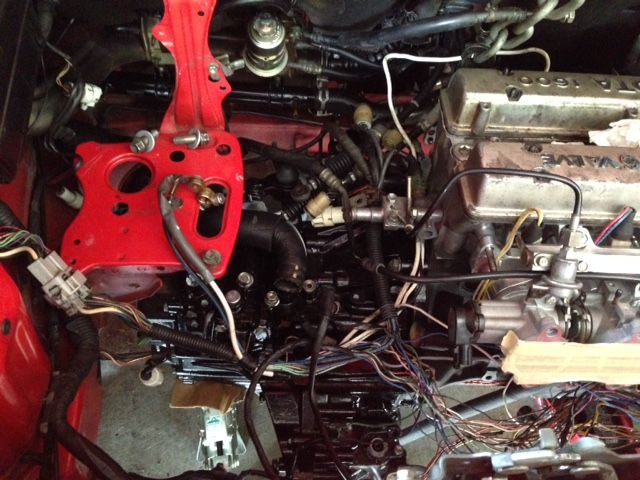
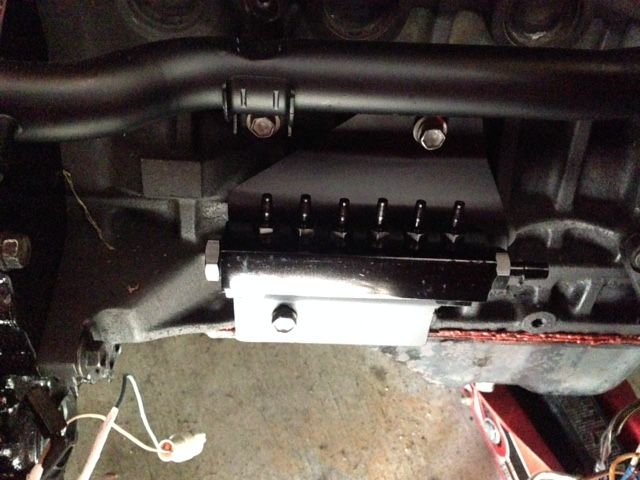
Installed the injectors and fuel rail:
Image

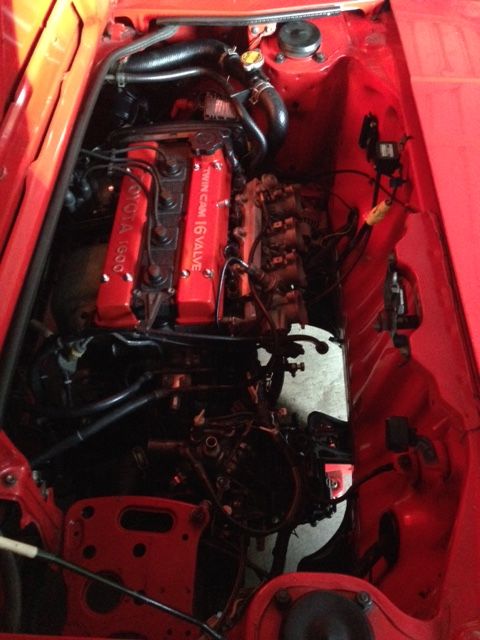
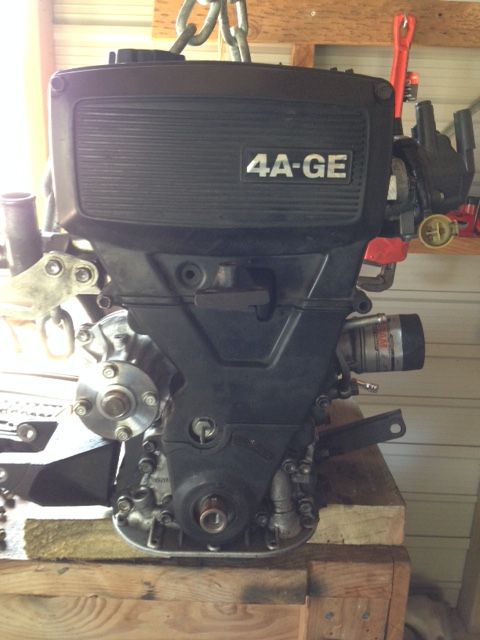
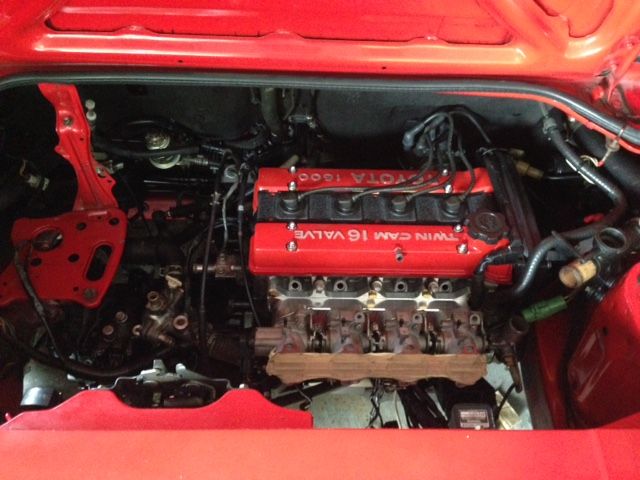
Installed stock ECU (Trans control module also connected):
Image


At this point I couldn't help but test start the car. So I put in some new engine oil, some new transmission oil and connected the battery... no sparks, no heat, no fire, good so far..
Then I put the key in the ignition and turned it to the 2nd position.. dash lights came up as usual.. turn to cranking position and absolutely nothing :(

So the trouble shooting began, I checked the following:
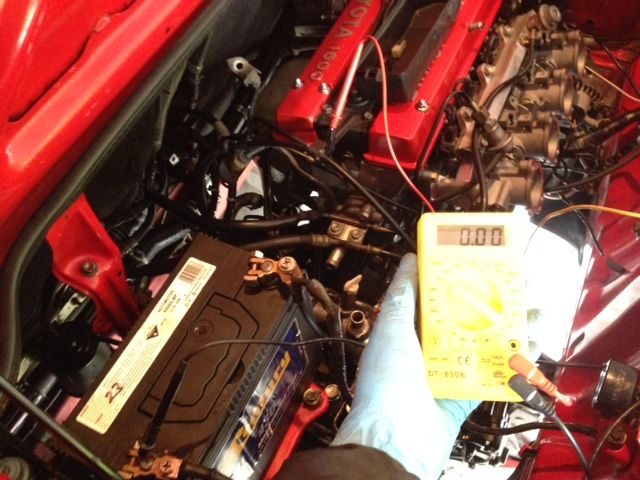
- All ground wires were fine; the engine, transmission and chassis were grounded. I checked this with a multi meter (probe on battery "+" and other probe on engine, then chassis, then transmission. By doing this I got +12V at all these points).

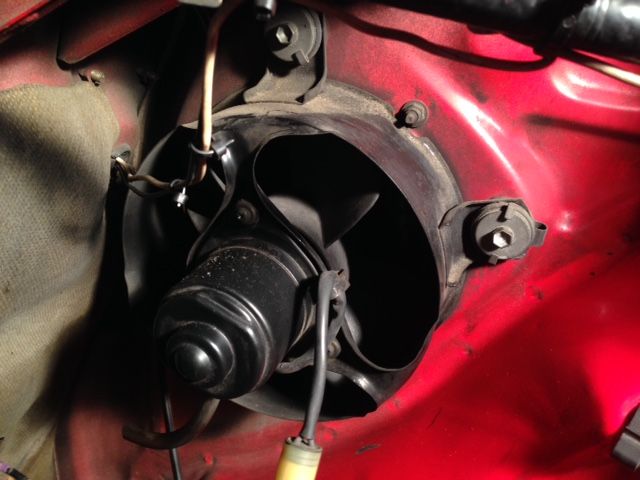
- Fusible link was fine. I was getting +12V at starter motor cable all the time and also at the alternator. Also my headlights and indicators work fine.

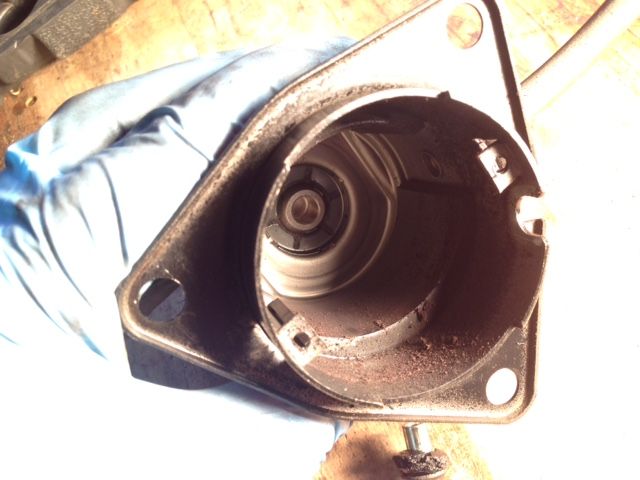
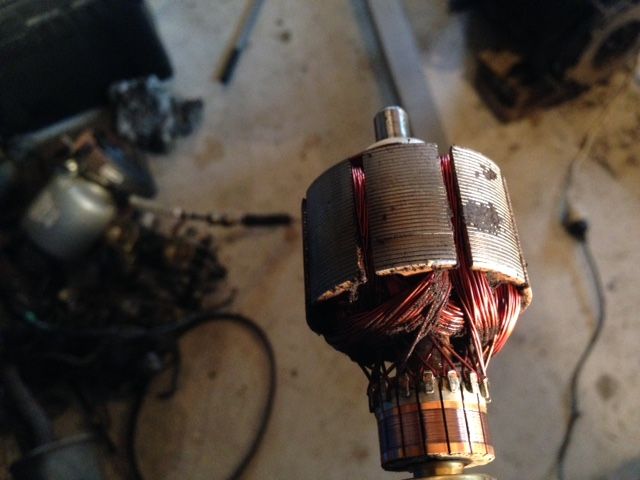
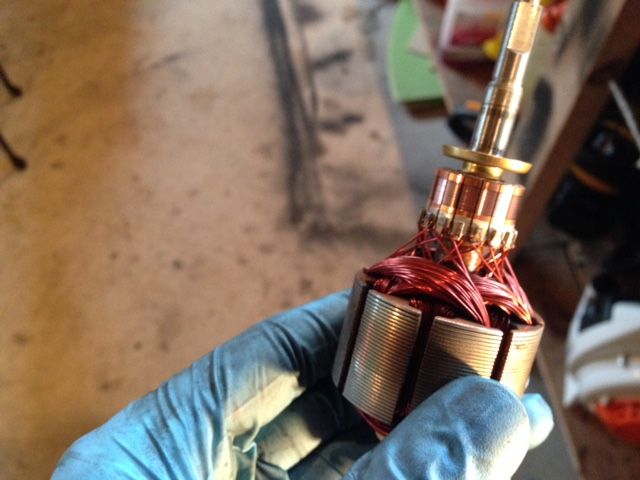
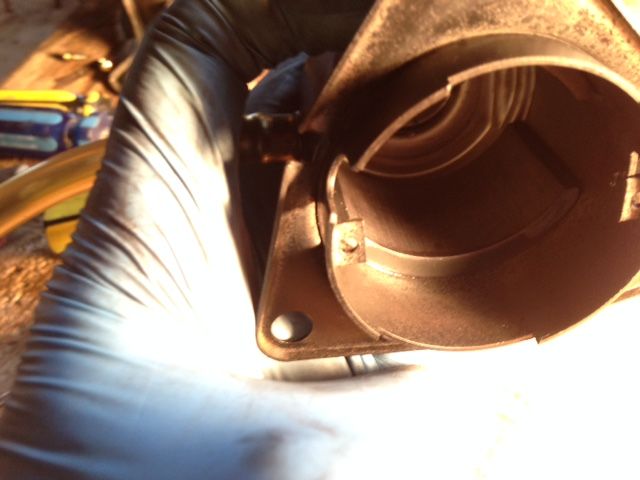
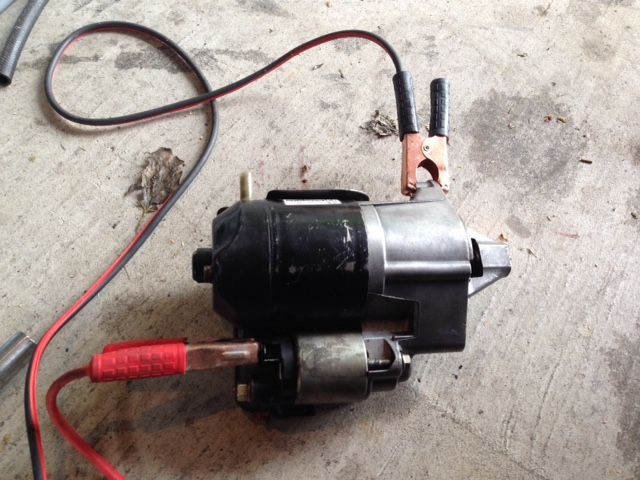
- Starter motor was fine. I checked this by connecting it to the battery and the solenoid pushes the gear out, the motor also seems to spin fine.

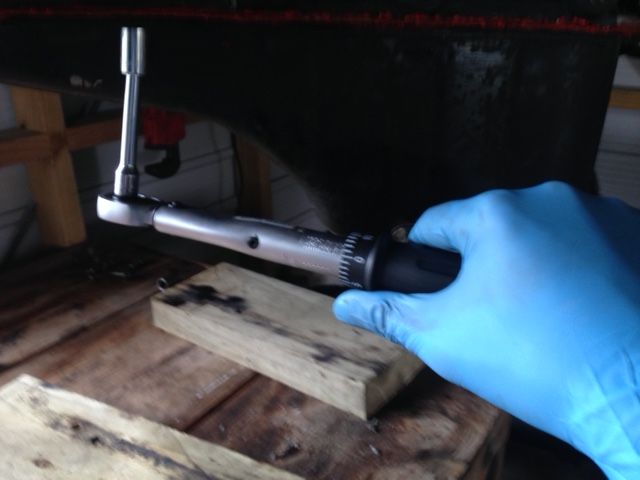
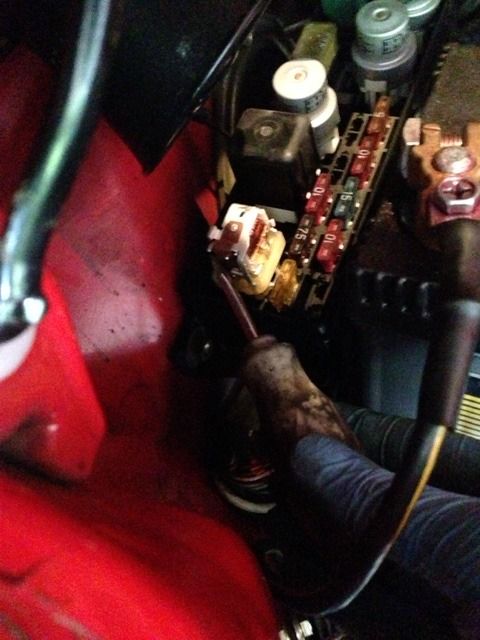
- Starting relay was fine. I checked by providing +12V across the coil terminals and I can hear it click. I also checked the relay coil continuity with a multi meter.

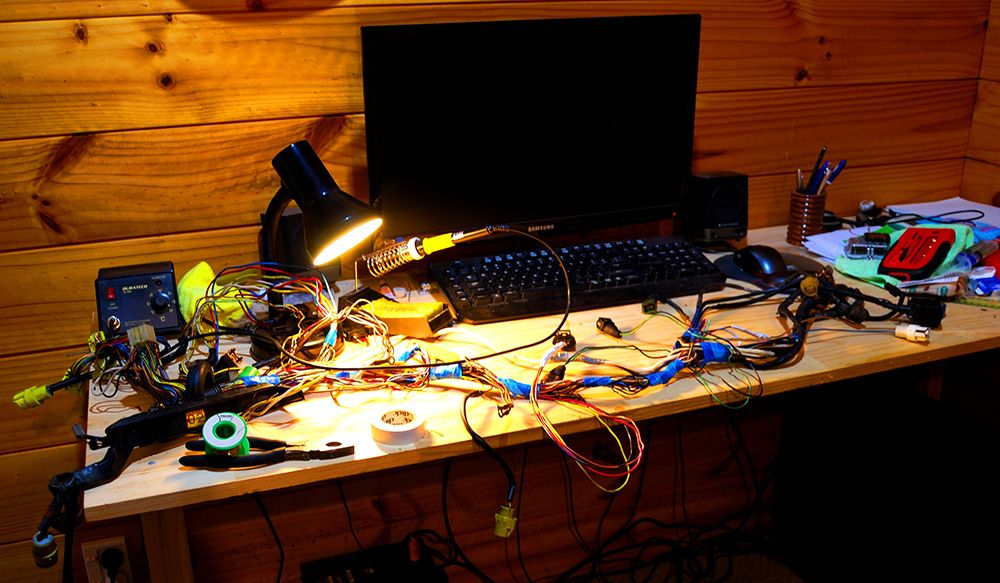
Here are some pics of me testing all these things:
Image

0V at the starter solenoid connector normally EXCEPT when I manually actuate the starting relay and then it shows +12V. NOTE: It's hard to see but one probe is on battery "-" and other probe is in the starter solenoid connector:
Image

This is how I manually activated the starter relay (obviously I had to remove the relay cover to do this):
Image


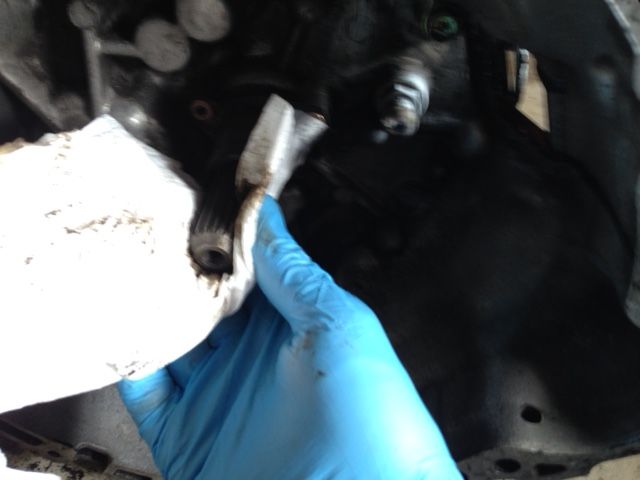
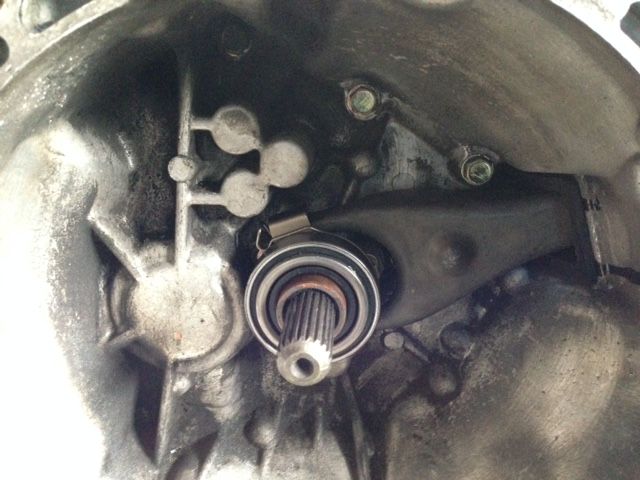
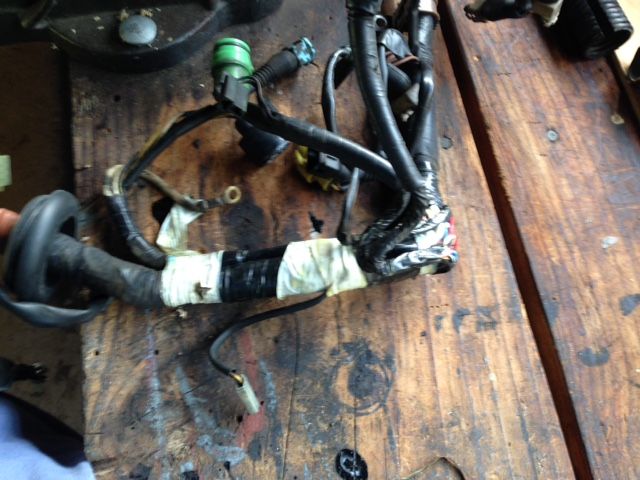
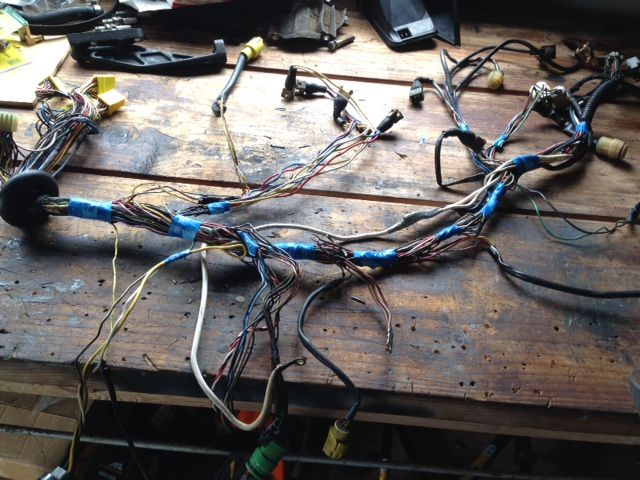
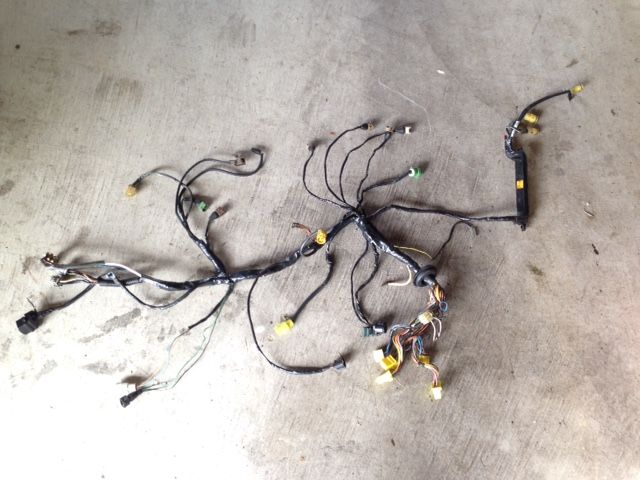
So! This only left the Neutral Safety Switch wiring. I suppose I messed it up because the online picture I found to help me had different wire colors.

So I was left with no option but to cut into wire harness again and find out if it was indeed the neutral safety switch causing the no start issue.
Glad to say that after I had exposed the wires they were the culprit.

I re-soldered them properly and went for another test start.. this time it actually started! Was so glad.


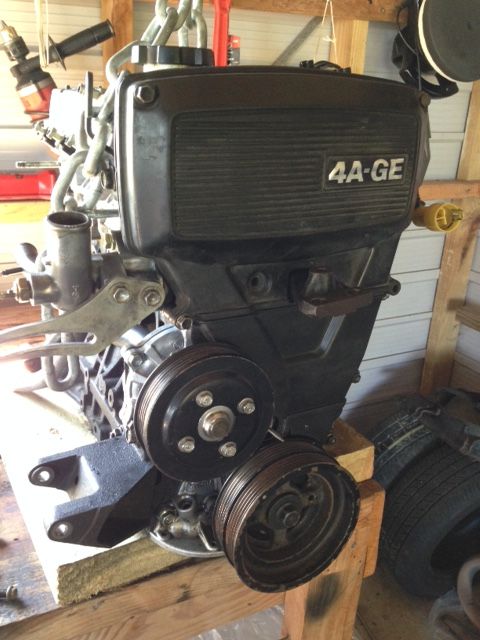
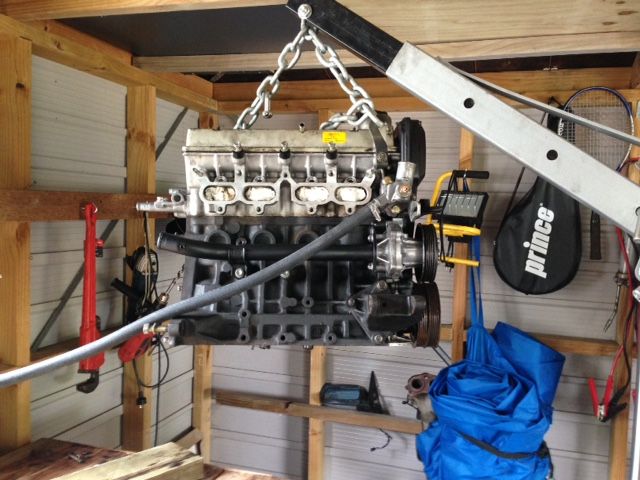
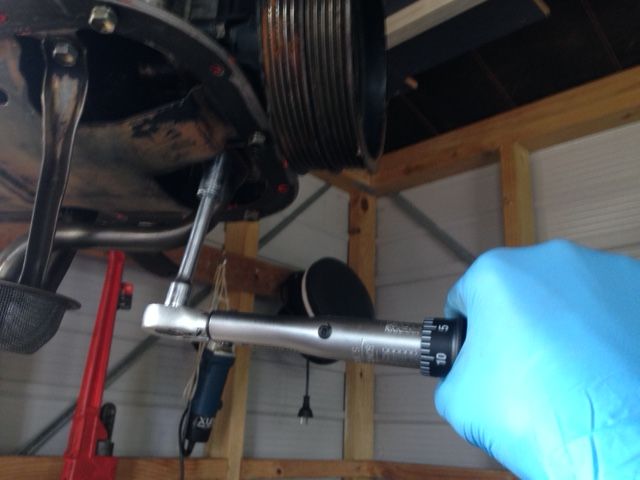
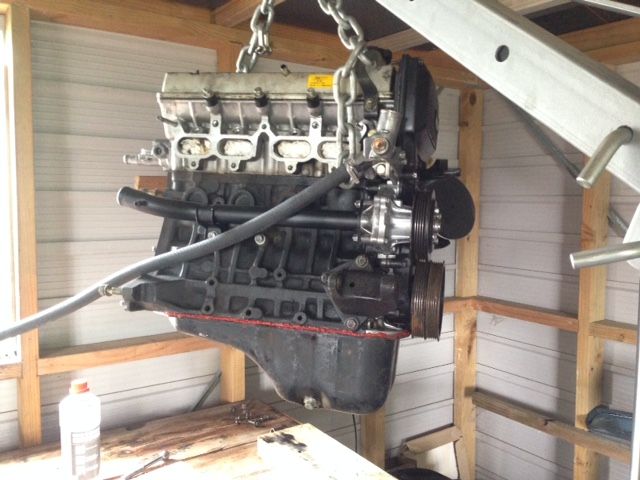
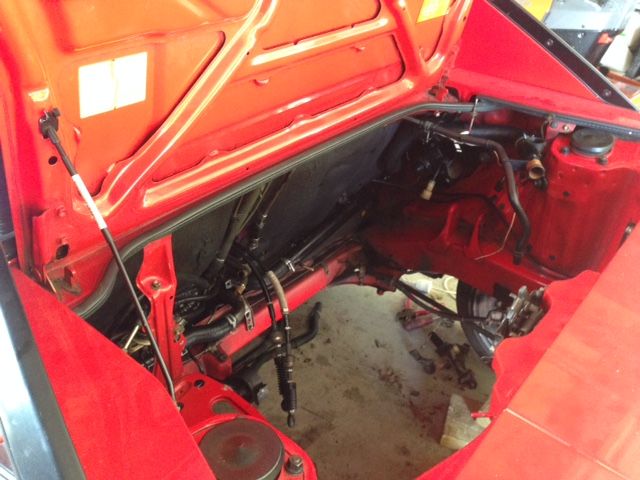
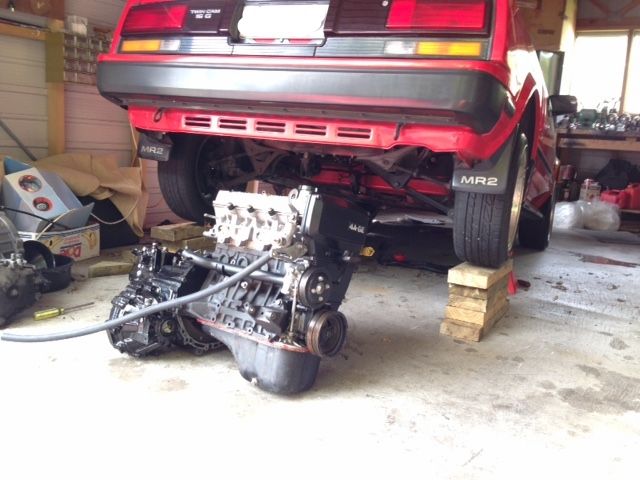
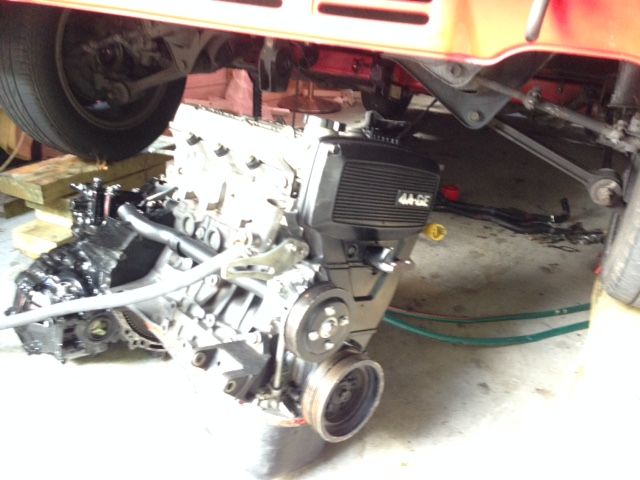
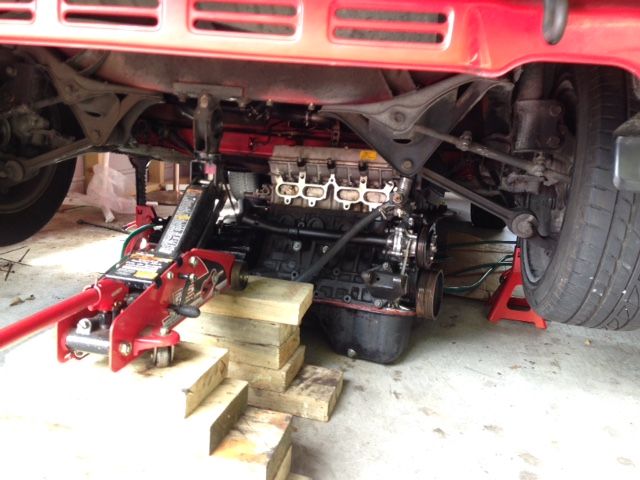
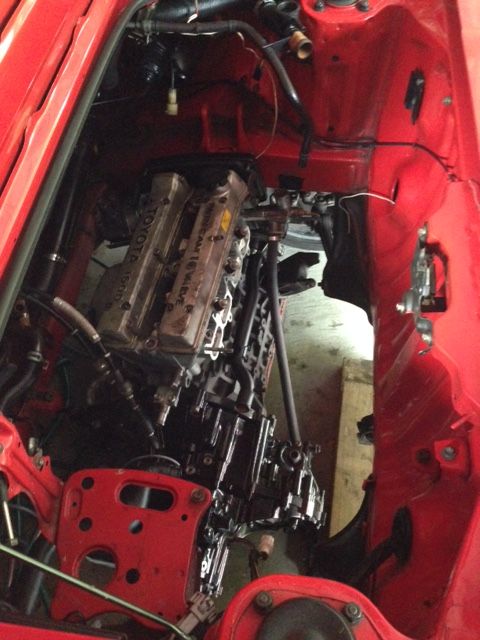
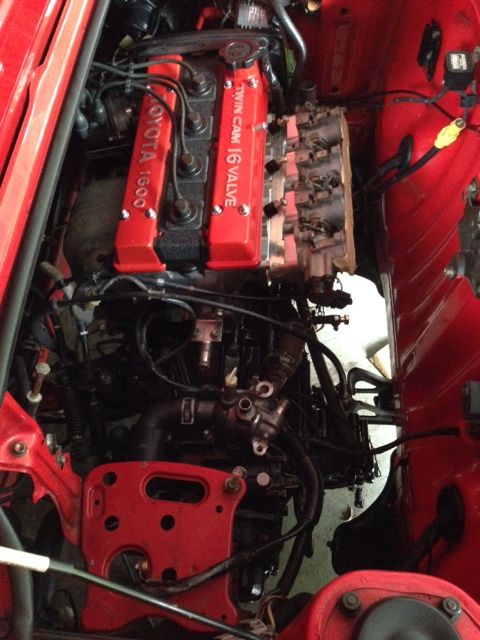
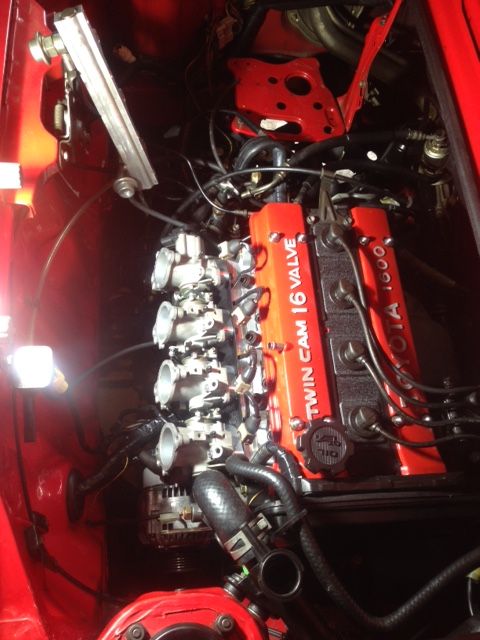
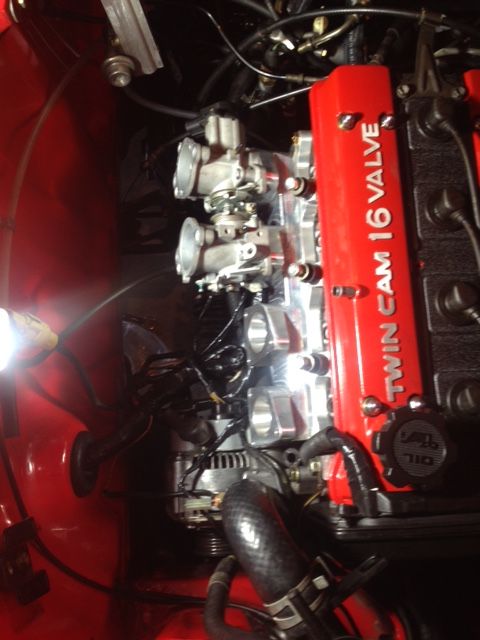
At this point I was really happy and continued to install a few more things like the alternator, waterpump/alternator belt etc.

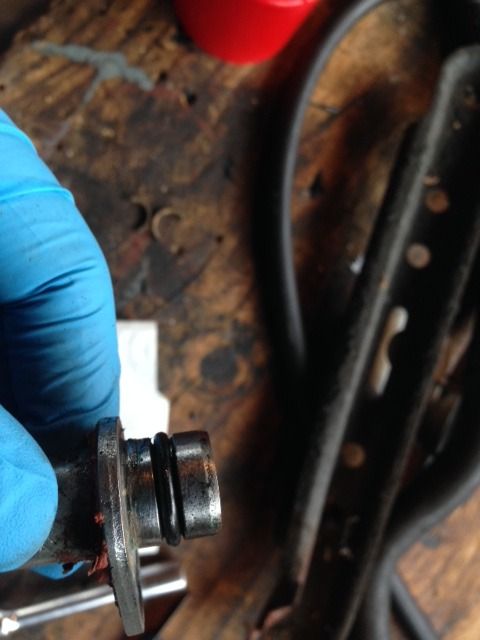
I then went to fill up the cooling system with water.. this is where the 2nd problem occurred. As soon as the water level got above the water pump, water started to leak out of the top water neck (on the front of the engine. This was really disappointing because it meant I had to remove the ITB's to get access to the small metal water pipe (where the leak was occurring).

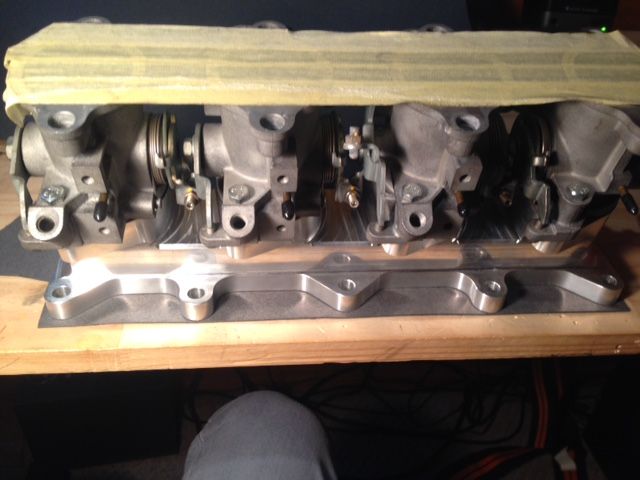
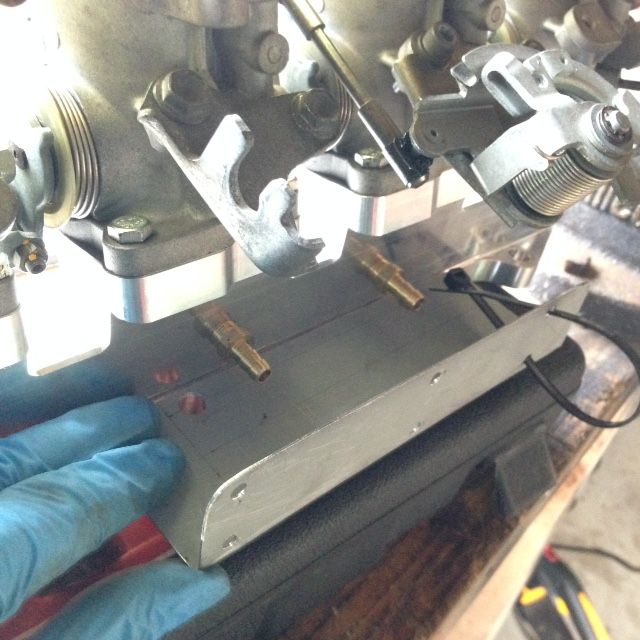
Removing the fuel rail:
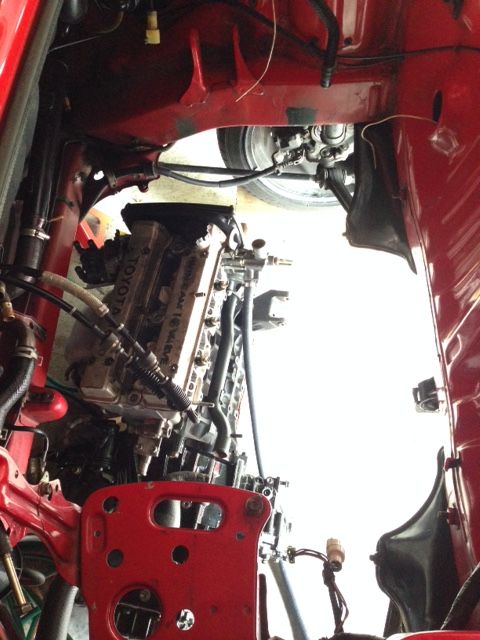
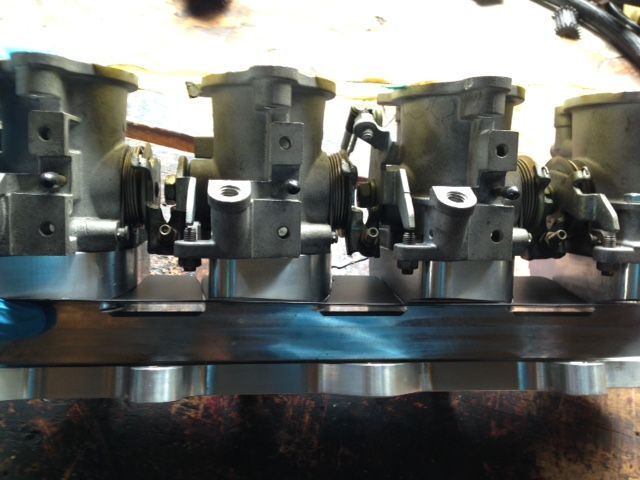
Image

Removing the ITB's:
Image

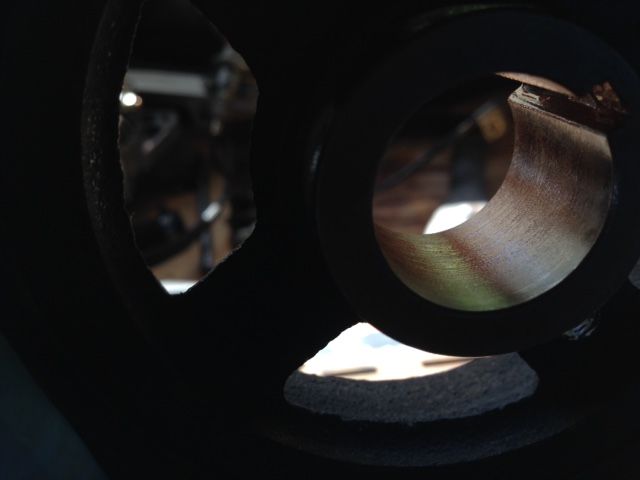
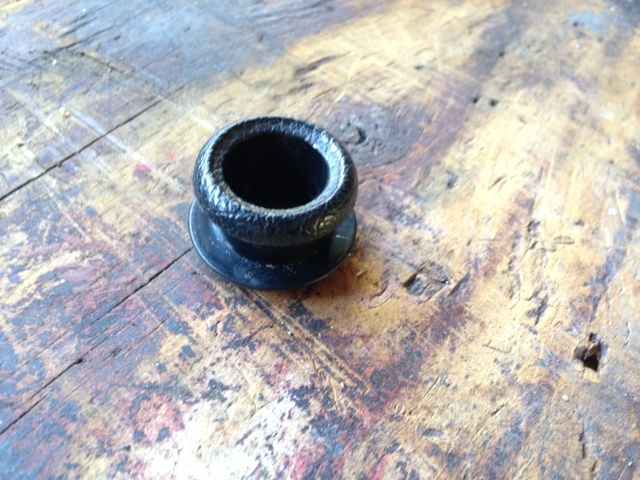
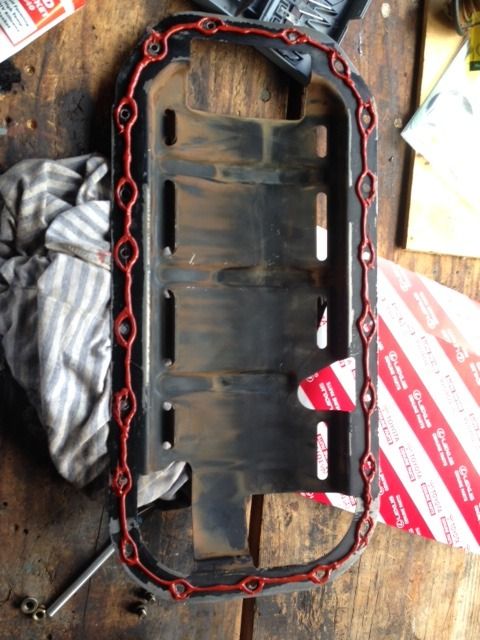
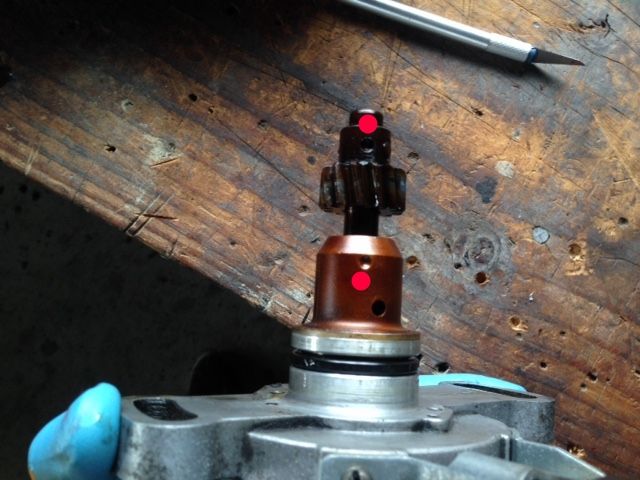
No wonder it was leaking.. funny since I remembered to replace almost all the other seals and O-rings apart from this one of course.
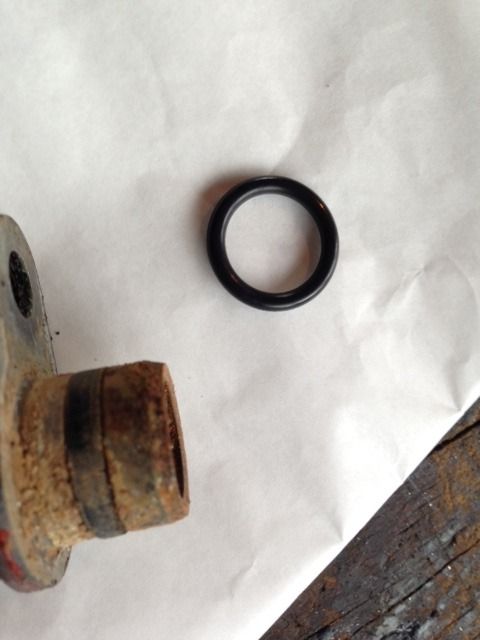
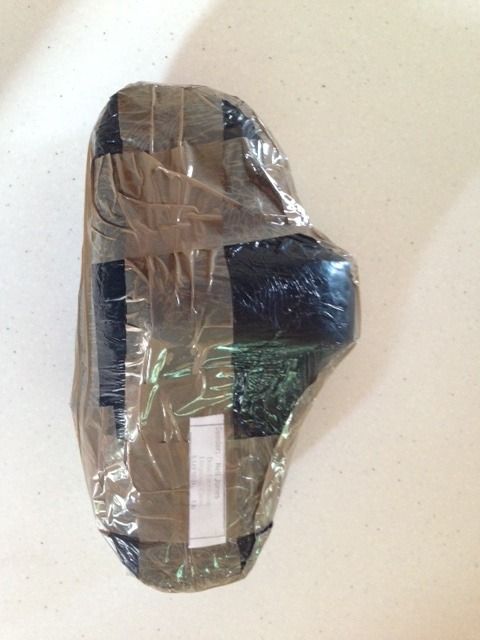
Image

New one fitted:
Image

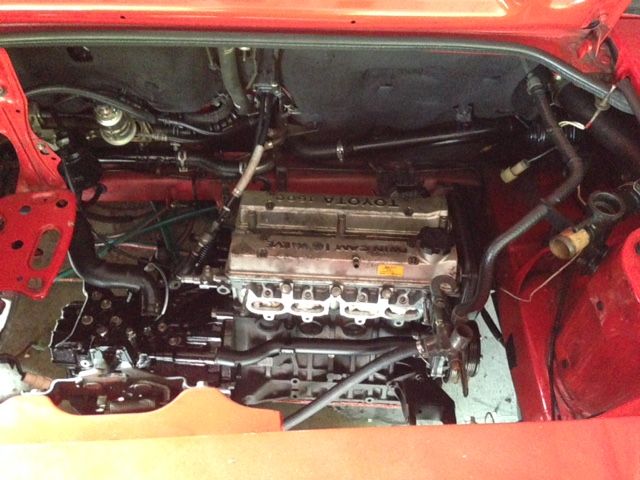
Finally after refitting everything back on and filling up the system with water, everything seemed to be fine. No more leaks. I bled the coolant system as much as possible without starting the engine.
At this point I started the engine and bled as much of the air out as I could. (Yes I used the Toyota manual method).

This was the first time I had the engine running for more than a few seconds. I noticed that it was running super rich. Unfortunately I think this is just due to the stock ECU fuel map being way off for an ITB setup. This is why I bought the Apexi Power FC ( I still wanted to try the stock ECU though).

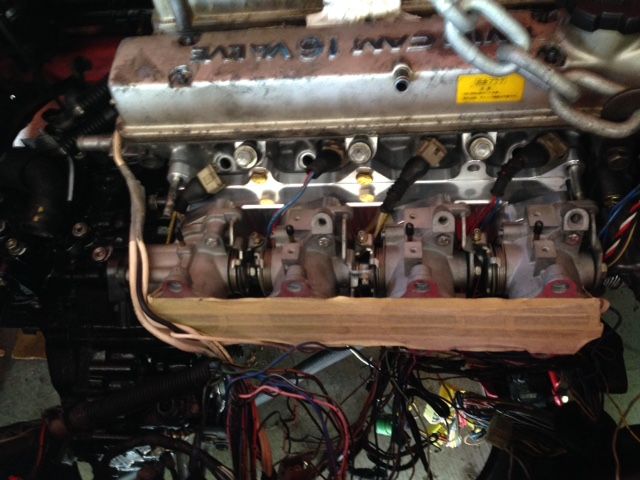
Here are the spark plugs after about 30mins of running!
Image


That's about it for now. My next task is to test the Apexi Power FC and then get it tuned. Luckily its plug and play for the 4AGE 16V (would be too much of a nightmare re-wiring again).

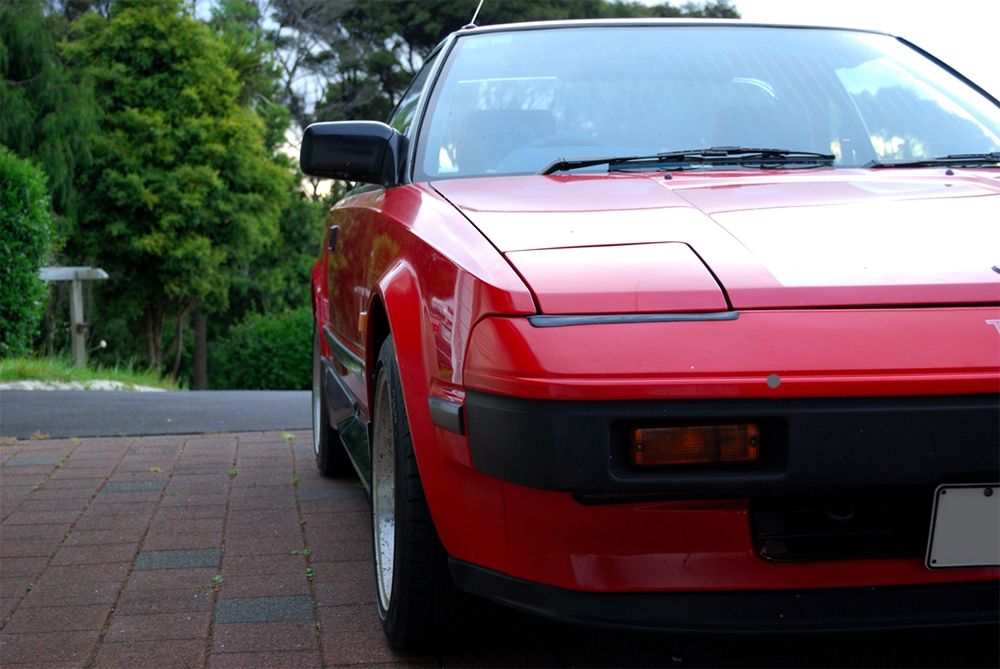
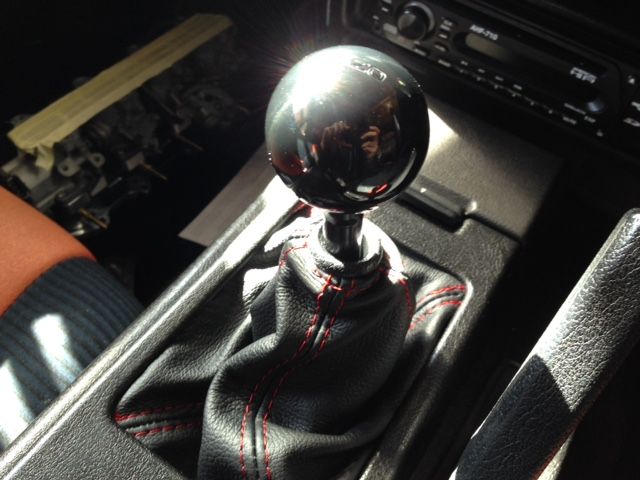
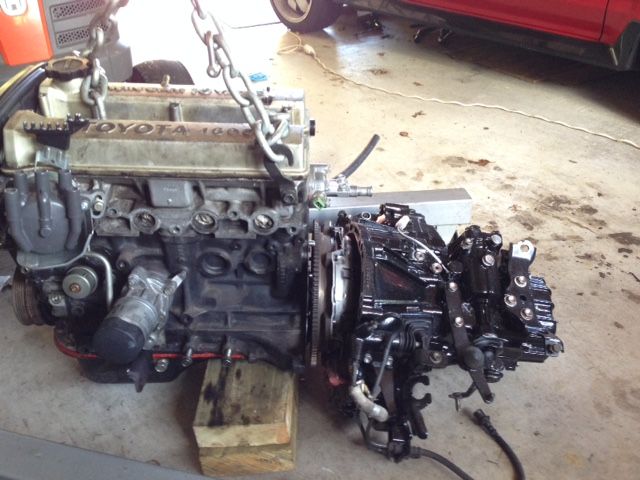
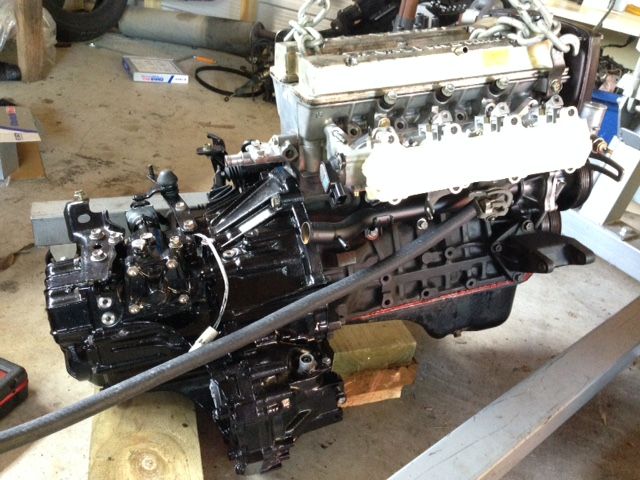
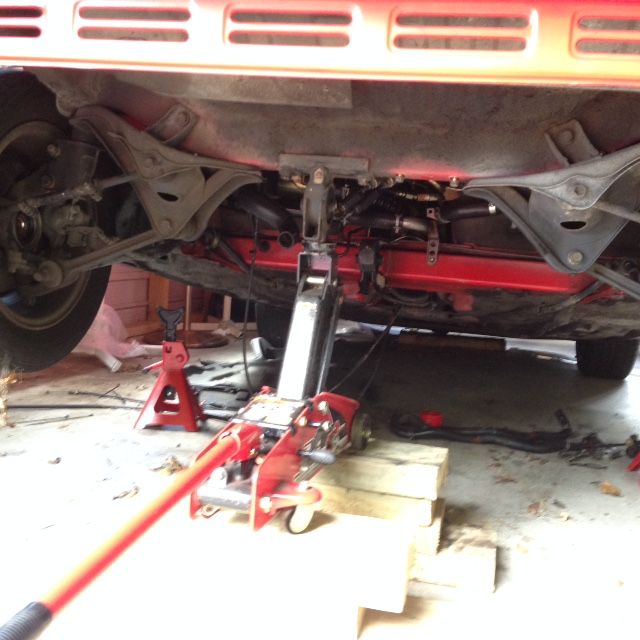
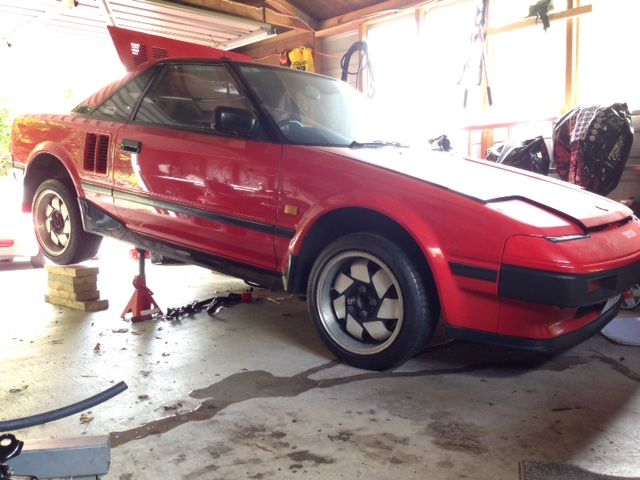
I'll just leave a few pics of how it sits at the moment. Was so nice getting it out of the garage and washing it:
Image

Image

Image

User avatar
4CylinderSpecial
Club Member - MR2OCNZ
Posts: 527
Joined: Wed Sep 16, 2015 8:30 pm
Stomping Ground: Auckland
Prime Mover: SW20
First name: Levi

Re: TNR's AW11 (Finally!)

Post by 4CylinderSpecial »

That looks fantastic, and very clean! I bet the sounds from the ITBS is very rewarding.

mknz
Site Admin - MR2OCNZ
Posts: 1182
Joined: Thu Apr 03, 2014 1:17 am
Stomping Ground: Auckland
Prime Mover: More than one MR2
First name: Michael
Contact:

Re: TNR's AW11 (Finally!)

Post by mknz »

But what became of the very clean AW?

vrtigo
Club Member - MR2OCNZ
Posts: 141
Joined: Tue Jan 21, 2014 11:44 am
Stomping Ground: Auckland
Prime Mover: AW11
First name: Cameron

Re: TNR's AW11 (Finally!)

Post by vrtigo »

Hey man, awesome stuff. Nice build up. Good to see the old workhorse 16v living a new life.

Post Reply